
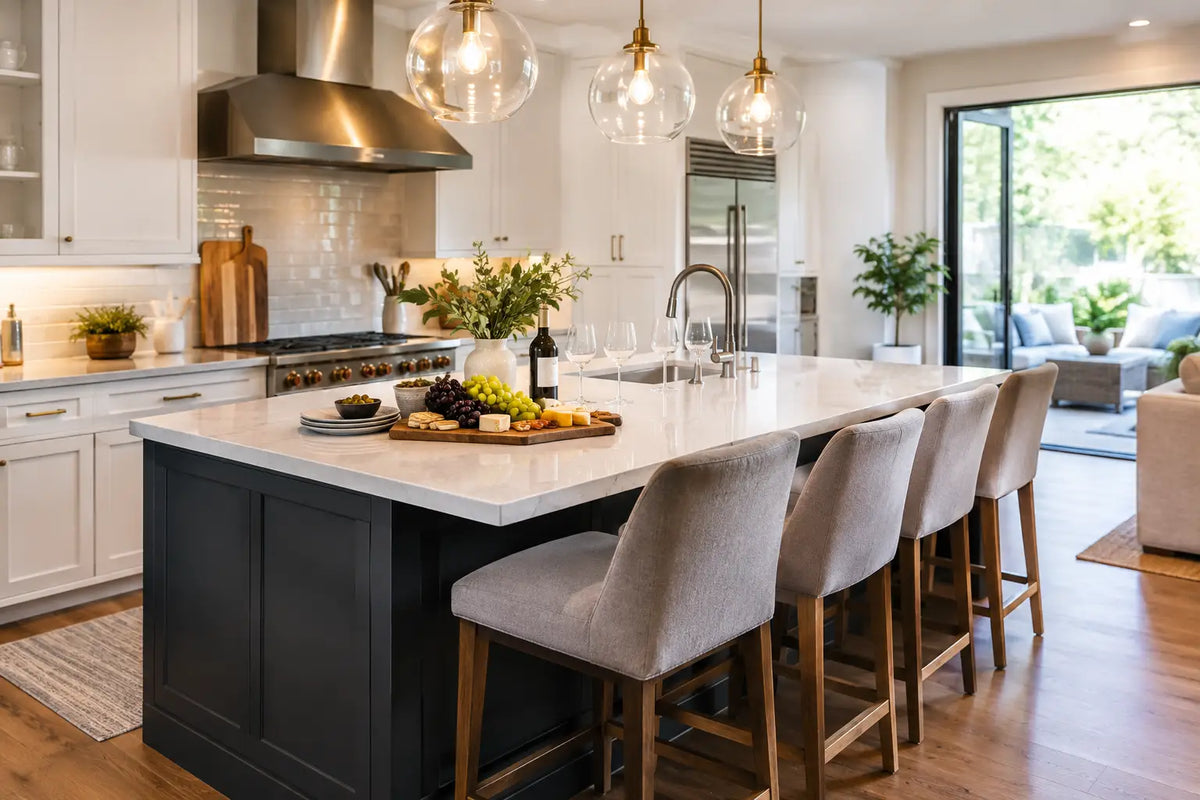
A great party often gathers around the island long before dinner is served. The best island layouts for entertaining give guests a place to settle in without putting them in the path of hot pans, open appliances, or last-minute prep. The result is not simply a larger countertop. It is a kitchen that shifts easily from cooking command center to cocktail bar, serving table, and family gathering place.
For a high-end renovation, the island should be planned as architecture first and an appliance location second. That is especially true when porcelain and through-surface induction make it possible to cook directly through the countertop, then return the entire surface to a clean, burner-free plane.
Start With How You Actually Host
Before selecting an island size or choosing stools, consider the rhythm of a real evening at home. Are you serving drinks while finishing dinner? Do guests tend to sit at the island, or do they circulate between the kitchen and outdoor living area? Does one person cook while another handles drinks and cleanup? Those answers determine where the working zones belong.
A successful entertaining island protects three activities from each other: cooking, guest seating, and service. When they overlap too tightly, hosts end up asking people to move every few minutes. When they are deliberately separated, the kitchen feels composed even when it is busy.
For most homes, allow at least 42 inches of clearance around the working sides of an island. Increase that to 48 inches or more when two cooks regularly share the kitchen, when appliance doors open into the aisle, or when the island is a major route to a patio or dining room. Generous circulation is one of the most valuable luxuries a floor plan can provide.
4 Best Island Layouts for Entertaining
1. The social cooking island
This layout places the cooking surface on the island, with seating positioned on the opposite side. It is ideal for homeowners who want to face guests while cooking rather than turn toward a wall. The key is creating enough depth that pots and prep stay well back from the seating edge.
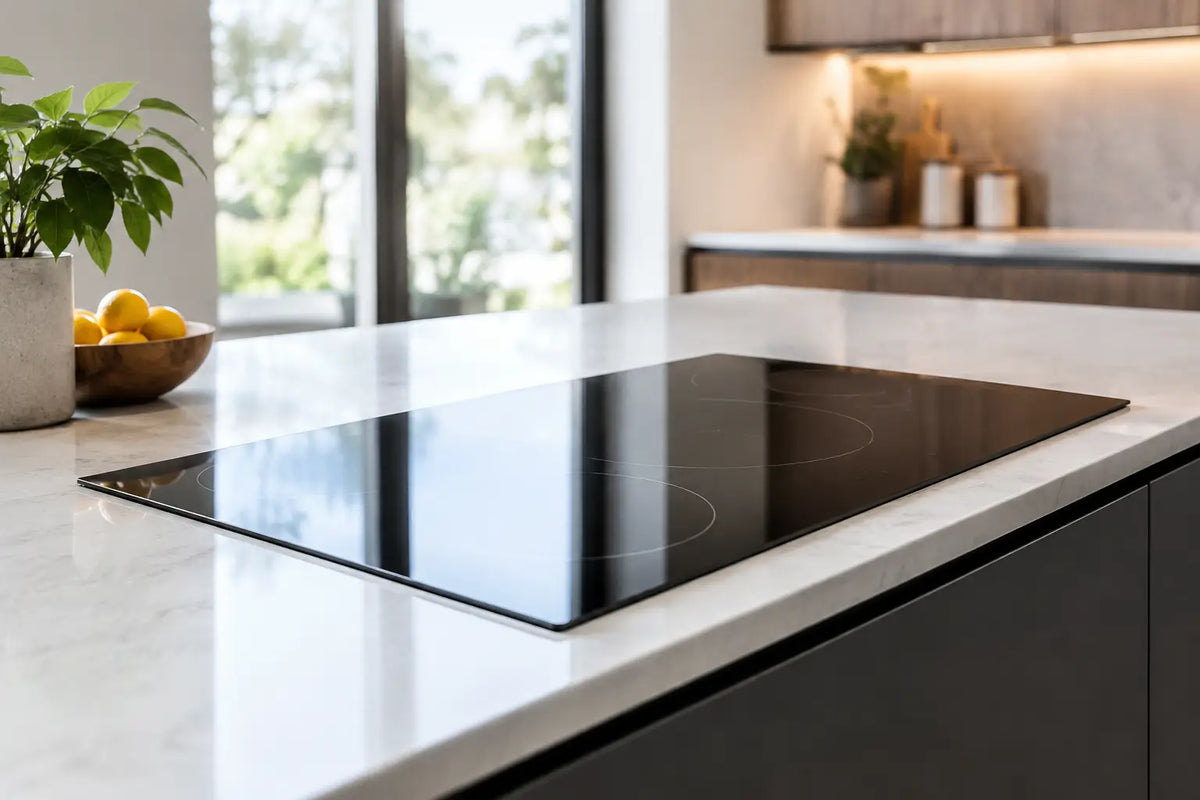
With a conventional cooktop, that arrangement often leaves visible burners in the center of the conversation. Through-surface induction changes the equation. A compatible porcelain top can remain visually uninterrupted when cooking is finished, so the island can become a buffet or bar immediately afterward. There is no raised glass panel dividing the counter into appliance territory and usable territory.
Plan a dedicated landing area near the cooking zones for utensils and cookware. Keep seating out of the active cook zone, and avoid putting stools directly beside a burner position. Guests can still participate in the moment without competing with the chef for elbow room.
2. The prep-and-pour island
For frequent hosts who prefer to cook at a perimeter range or a separate back-kitchen zone, a prep-and-pour island is often the smartest choice. The island is built around generous clear counter space, a prep sink if desired, refrigeration for beverages, and seating. It becomes the place where appetizers are assembled, wine is opened, and guests naturally gather.
This approach keeps high-heat cooking away from the crowd while giving the host a useful, social workstation. It also works well in open-plan homes where the island is highly visible from the living room. Without a cooktop cutting across the slab, a dramatic porcelain pattern can read as one continuous design statement.
The trade-off is that the host may be less connected to guests while cooking. If conversation during meal preparation is a priority, consider adding one or two hidden induction zones to the island for finishing sauces, warming dishes, or cooking a course in front of guests.
3. The divided work-and-dine island
Long rectangular islands are often asked to do too much. A divided layout gives each end a clear purpose: one end handles prep and cooking, while the other is reserved for dining, serving, or laptops during the week.
The division can be subtle. It may be defined by the position of an undermount sink, a change in pendant lighting, or simply the placement of the induction zones beneath the porcelain. Because an invisible induction system leaves no permanent burner outlines, the dining end does not feel like it is attached to a cooktop. It remains a true table-height gathering surface.
This layout suits families and hosts who need the kitchen to perform every day, not just on Saturday night. It does require a properly scaled island. If the slab is too short, dividing it into zones can create two cramped areas instead of one useful one. In that case, a simpler social cooking island will perform better.
4. The double-island layout
In a larger kitchen, two islands can create the clearest separation between work and hospitality. One island is dedicated to prep, cleanup, and cooking. The second is designed as a drinks station, buffet, or dining table. This is a strong option for homes that host holiday meals, charity events, extended family gatherings, or business entertaining.
The advantage is obvious: guests have a destination that is not the cook's workstation. The risk is overbuilding the room. Two islands need meaningful space between them, not a narrow aisle that turns into a traffic jam. They also need distinct jobs. If both are simply large rectangles with stools, the room can feel repetitive rather than intentional.
A hidden induction surface is particularly compelling on the work island. After service, that countertop can be cleared and used for dessert or coffee without the visual weight of a conventional cooking appliance. The guest island stays calm and available throughout the event.
Make Seating Feel Generous, Not Crowded
Island seating should support conversation without forcing guests into a line. Allow roughly 24 inches of width per stool for comfortable adult seating, and more when using substantial upholstered stools with arms. Leave enough knee clearance beneath the overhang, typically around 12 inches for counter-height seating, though the right dimension depends on the stool and countertop support system.
Think carefully about the number of seats. Four comfortable seats are usually better than five crowded ones. If the kitchen opens to a dining table nearby, the island does not need to carry the full burden of mealtime seating. Its role may be more casual: coffee in the morning, cocktails at night, and a place to keep the host connected to everyone else.
Avoid seating on the side closest to the refrigerator, pantry, or primary passage. A beautiful row of stools is not useful if guests must stand every time someone needs ice or a serving platter.
Design the Service Zone Before Choosing Finishes
Entertaining is easier when the island has a clear route for food, drinks, dishes, and cleanup. A beverage refrigerator at the guest-facing end keeps people from opening the main refrigerator during meal prep. A drawer for napkins, boards, and bar tools reduces the clutter that otherwise accumulates on the countertop. If a sink is included, position it where one person can rinse glassware without blocking cooking or seating.
Lighting matters here as much as cabinetry. Pendants can anchor the island visually, but they should not obstruct sightlines across it. Use dimmable task lighting for prep and warmer ambient lighting for guests. The goal is enough brightness to cook confidently, with a softer setting once dinner is served.
Material selection deserves the same discipline. Porcelain is a natural fit for high-performance entertaining islands because it offers a refined, continuous appearance and handles the realities of daily use. When paired with an approved through-surface induction system, it supports cooking performance up to 400°F while maintaining a cool surrounding countertop area. That combination gives the island a rare advantage: it can work hard without looking like an appliance bank.
Plan Invisible Cooking Early
Invisible cooking is not an afterthought to add once the cabinetry is installed. Countertop compatibility, slab thickness, electrical capacity, ventilation strategy, and the location of the control interface should be coordinated early with the fabricator, designer, electrician, and appliance specialist.
Invisacook California helps homeowners and trade professionals validate those details before installation, including compatible porcelain options and the right burner configuration for the island's intended use. A one- or two-burner system may be perfect for light entertaining and finishing work. Larger three- and four-burner systems make sense when the island will carry primary cooking duties.
The best choice depends on how you host. A showpiece island that rarely cooks needs a different plan than a kitchen where dinner is prepared in front of eight guests twice a week. Designing around that truth will produce an island that looks exceptional on a quiet Tuesday and performs beautifully when the house is full.

Leave a comment
This site is protected by hCaptcha and the hCaptcha Privacy Policy and Terms of Service apply.