

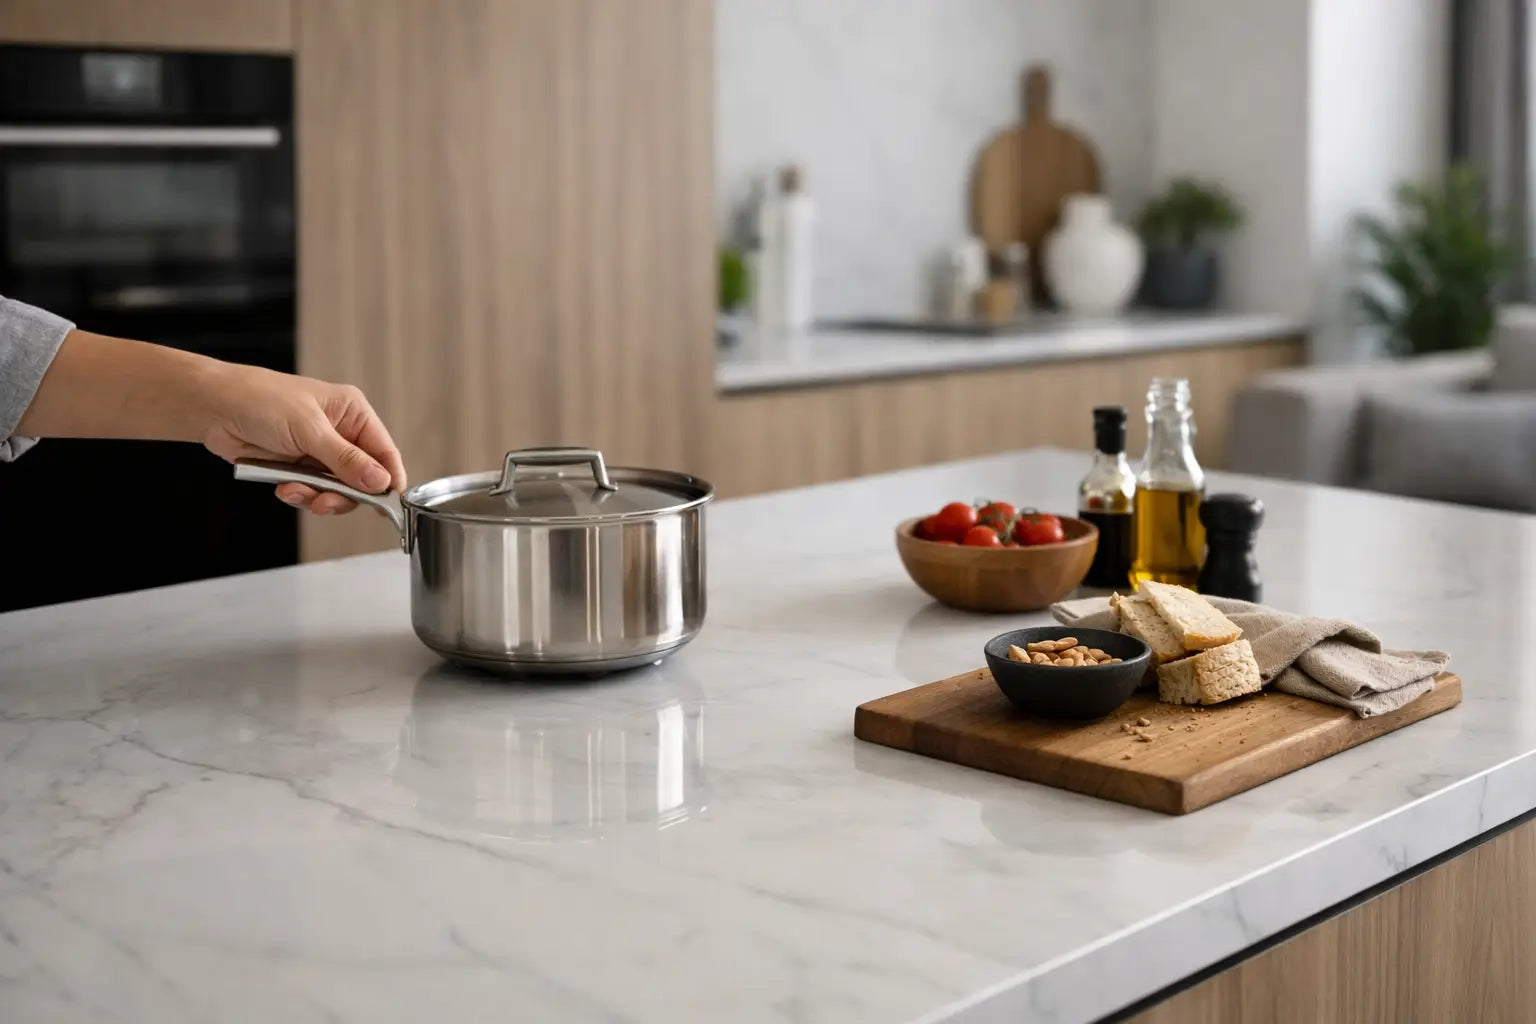
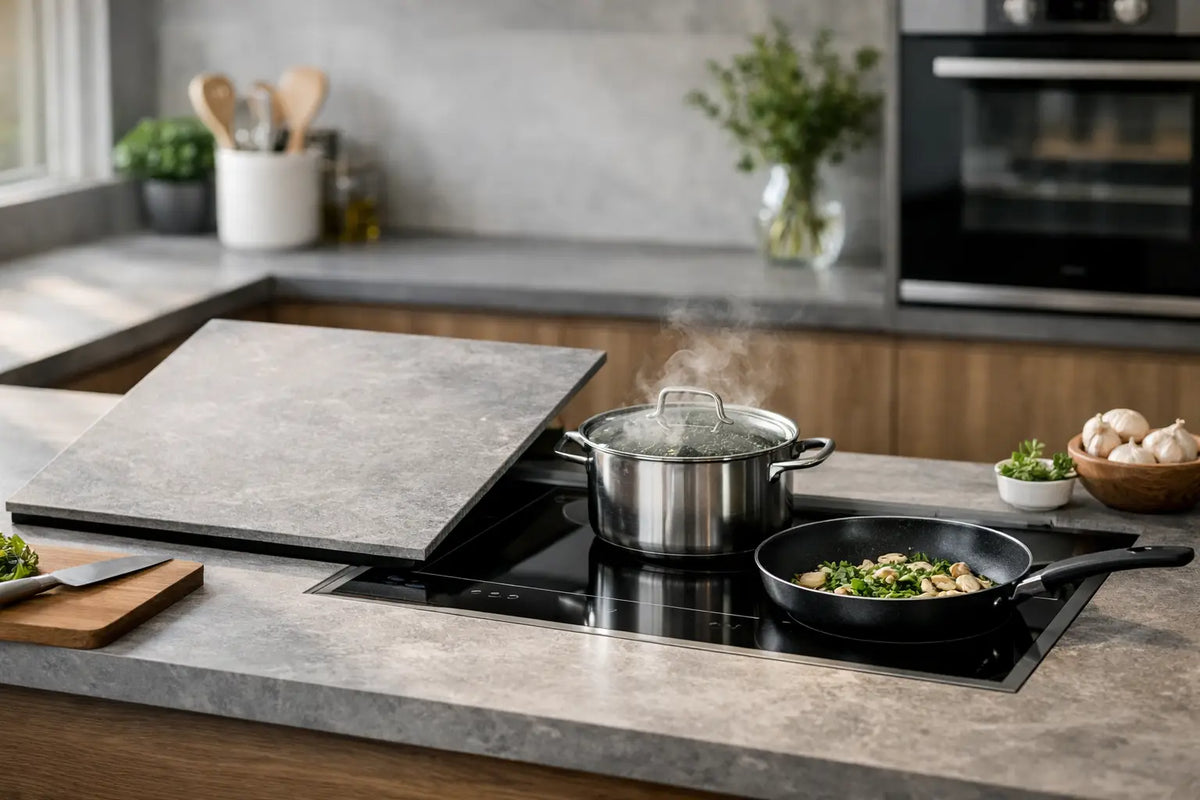
A porcelain island with no visible burners changes the entire room. It can be a prep surface at breakfast, a serving station at dinner, and a clean architectural centerpiece once guests arrive. But the result depends on more than choosing an invisible cooktop. This guide to induction zone layouts explains how to place cooking zones with the same intention you bring to the countertop itself.
The right layout gives every pan a purpose, protects valuable prep space, and makes everyday cooking feel natural. The wrong one can leave a beautiful island with awkward reach distances, crowded cookware, or burners positioned where people want to sit. Hidden induction offers unusual freedom. It still needs a disciplined plan.
Start With How the Island Will Be Used
Induction zone placement should follow real behavior, not a generic appliance diagram. Think about who cooks, how many people cook at once, and whether the island is primarily a cooking station, a social hub, or both.
A household that makes one-pan dinners and uses the island for homework may prefer one or two carefully located zones. A serious home cook preparing multiple courses may need three or four zones, with enough separation for a stockpot, skillet, and sauté pan to work at the same time. The benefit of through-surface induction is that the technology disappears when it is off. That does not mean every available inch should become a burner.
Start by mapping the island into three working areas: cooking, landing, and prep. The cooking area is where induction zones sit. The landing area is immediate space for ingredients, utensils, and hot cookware. Prep space is the uninterrupted counter real estate that makes chopping, plating, and entertaining easier.
For many luxury islands, placing the cooking area slightly off center produces a better result than centering it by default. It preserves a large, clean prep zone on one side and allows guests to gather without standing directly over active cookware. Symmetry can be striking, but workflow should lead the design.
Guide to Induction Zone Layouts by Island Size
There is no single correct configuration. The ideal number of zones depends on island dimensions, countertop thickness and material approval, electrical capacity, and how the kitchen is used.
One-zone layouts for focused flexibility
A single induction zone is a strong choice for a bar, butler’s pantry, compact secondary island, or a main kitchen where cooking happens elsewhere. It is also useful when the goal is an ultra-minimal island that can handle a warming sauce, a pasta pot, or a demonstration-style cooking moment without dedicating the entire surface to cooking.
Place a one-zone system where it has a practical landing area nearby. Avoid putting it at the far end of a long island with no room for utensils or ingredients. A single zone may be modest, but it should still feel intentional.
Two-zone layouts for everyday kitchens
Two zones are often the sweet spot for design-conscious homeowners. They support the most common cooking pattern - a pan and a pot - while preserving substantial usable porcelain surface. For many families, this arrangement replaces the visual weight of a traditional range without sacrificing weeknight performance.
A side-by-side layout works well on a wider island, especially when paired with prep space on one end. A front-to-back layout can fit a narrower island, but consider the reach across active cookware and keep seating out of the splash and heat zone. Since the countertop stays comparatively cool around the pan, the island remains more comfortable than a gas cooktop, but active cookware still deserves clear space.
Three- and four-zone layouts for serious cooking
Three or four zones suit homeowners who regularly prepare full meals, entertain often, or want their island to serve as the primary cooking location. These systems can support high-output cooking while keeping the kitchen visually calm. With compatible cookware, Invisacook systems can reach cooking temperatures up to 400°F and bring water to a boil in under two minutes.
The trade-off is spatial discipline. More zones require more countertop planning, more electrical coordination, and more care around pan placement. Do not cluster four zones simply because the island is large. Give each position enough room for the largest cookware expected to be used there, including handles and lids.
A four-zone layout is especially effective when the cooking surface faces the room and the back side of the island remains a dedicated work zone. It can also work beautifully in a chef-led entertaining kitchen, where the host cooks toward guests rather than toward a wall.
Give Every Zone Room to Work
Induction zones are not just circles beneath porcelain. They are working positions for real pans. A 10- or 12-inch skillet needs clearance for its handle. A Dutch oven needs room for a lid to be lifted safely. Two large pans should not force the cook to angle handles into each other.
Use the cookware plan early. Invisible induction requires compatible magnetic cookware, and pan size matters when establishing zone placement. InvisaCookware is designed for through-surface performance, but the larger point applies to every selection: choose zones around the cookware you actually use, not around a hypothetical set of small pans.
Keep active cooking zones away from seams, cutouts, faucets, pop-up outlets, and areas where countertop accessories will permanently live. Your fabricator and installation specialist should confirm the approved porcelain material, slab construction, underside access, and the precise zone locations before fabrication begins. A beautiful install starts with those details resolved on paper, not after the slab is cut.
Plan the Layout Around the Kitchen Work Triangle
Invisible induction frees the island from the standard range footprint, but food still moves through the same sequence: cold storage, washing, prep, cooking, and serving. A layout should shorten that path rather than turn it into laps around the island.
If the sink is on the island, position the cooking zones far enough away that rinsing produce and handling hot pans do not compete for the same elbow room. If the refrigerator and pantry are behind the island, leave a clear path that does not send people through the active cooking area. In an open-concept home, this also helps keep guests and children out of the immediate pan zone.
Consider where finished food will go. A generous clear section beside the induction area can function as a plating counter during dinner, then become buffet space once cooking is complete. This is one of the strongest arguments for invisible induction: the surface can return to its full design purpose after the meal.
Seating Changes the Equation
An island designed for stools needs more thought than an island used only for prep. Cooking zones and seated guests can coexist, but they should not compete for the same edge.
For a social layout, place the induction zones on the kitchen-facing side of the island and reserve the opposite overhang for seating. This lets the cook face the room while keeping handles, steam, and ingredients away from diners. It also gives the countertop a clear visual rhythm: active work on one side, relaxed gathering on the other.
If you want a central cooking location for theatrical entertaining, create a wider buffer around the zones and be realistic about what gets cooked there. A central island can be exceptional for sautéing and serving, while a wall oven or secondary cooking area handles larger roasting and baking tasks. The best layout is not the one that asks one surface to do everything. It is the one that makes the entire kitchen work better.
Coordinate Power Before the Countertop Is Finalized
Through-surface induction is a planned system, not an appliance added after the fact. Electrical requirements vary by configuration, so zone count should be settled alongside the electrical plan. This is particularly important in custom homes, where lighting, refrigeration, wine storage, charging, and other island features may already place demands on the circuit plan.
Coordinate early with the electrician, countertop fabricator, kitchen designer, and the induction specialist. They need to align on approved porcelain, the installation method, zone locations, ventilation below the countertop, and access for service. Wireless charging and other integrated features can be considered at this stage too, but they should complement the cooking layout rather than crowd it.
Invisacook California provides direct guidance through this process because the difference between a stunning concept and a dependable installation is usually found in the details no one sees.
Mark the Surface Without Compromising the Look
Some homeowners want completely unmarked porcelain. Others prefer subtle visual cues so guests know where to place cookware. Both approaches can work.
Unmarked layouts deliver the purest invisible effect, particularly with patterned porcelain that already has a strong visual presence. They require the household to learn the zone positions and may benefit from a discreet reference during the first weeks of use. Subtle markings can make the surface more intuitive for guests, housekeepers, or frequent entertainers without introducing the look of a conventional glass cooktop.
The right choice depends on who will use the kitchen. A private, highly curated home may prioritize total visual restraint. A busy family kitchen may value immediate clarity. Neither is more luxurious when the execution is deliberate.
A well-planned induction island does more than hide burners. It gives a porcelain surface permission to work harder: cook fast, clean easily, stay open for gathering, and look exactly as refined after dinner as it did before the first pan hit the counter.

Leave a comment
This site is protected by hCaptcha and the hCaptcha Privacy Policy and Terms of Service apply.