
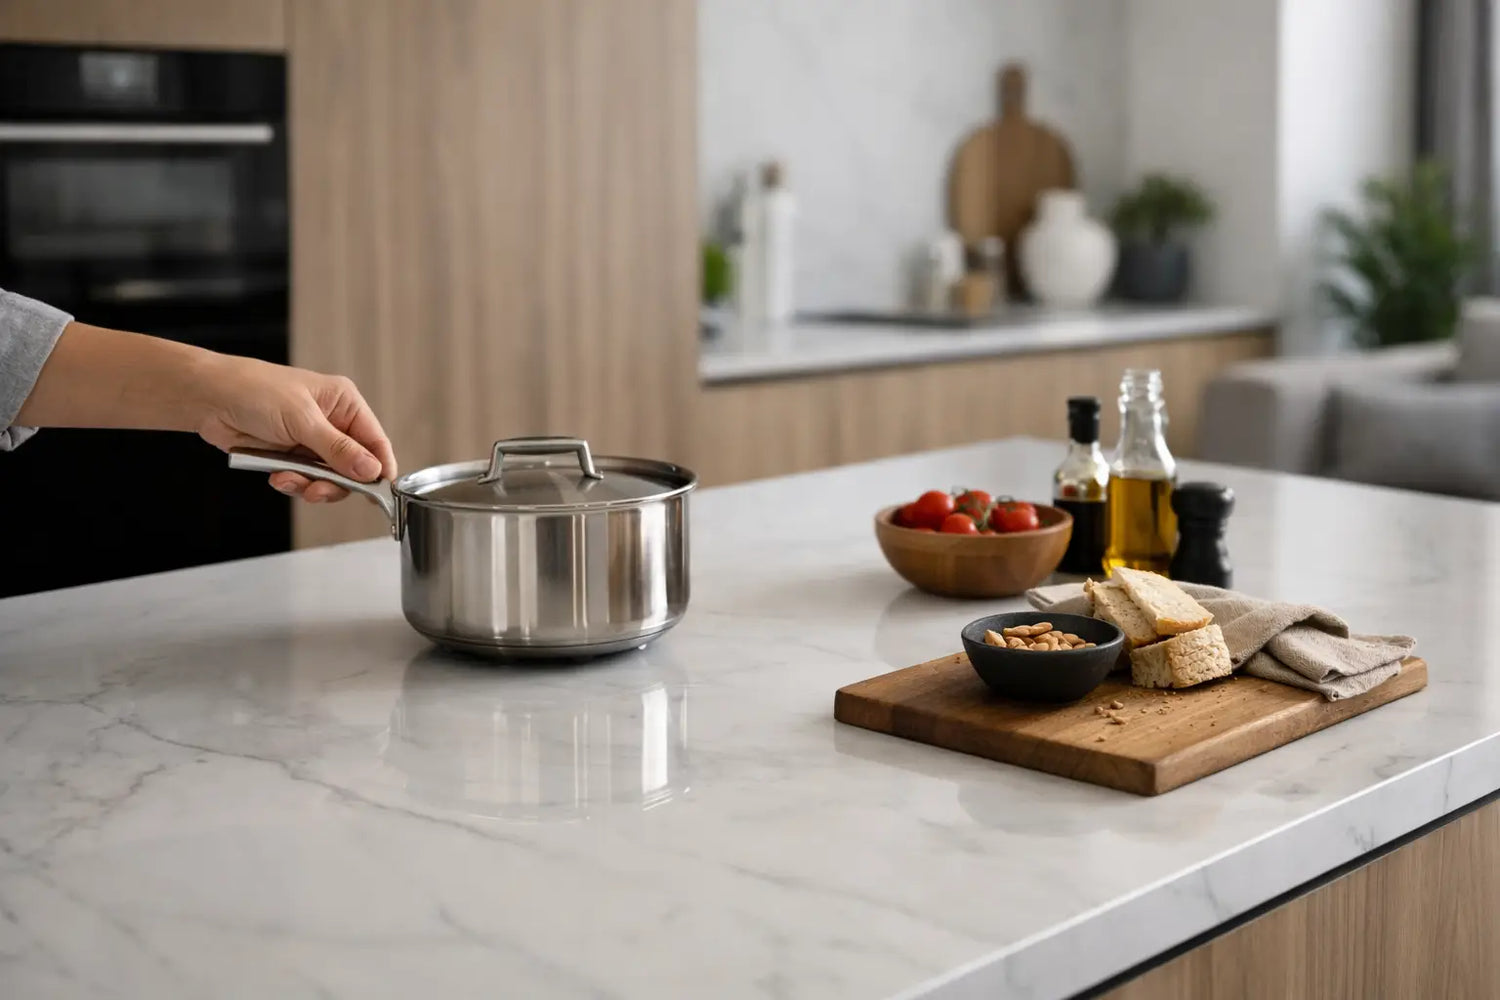
A porcelain island can become the most useful surface in the kitchen: a powerful cooktop at dinner, then a clean buffet, serving bar, homework station, or uninterrupted work surface. The result only feels effortless when the decisions behind it happen early. Knowing how to plan hidden induction means designing the island around the cooking system before cabinetry, electrical, and porcelain fabrication are locked in.
Hidden induction is not a conventional cooktop dropped into a cutout. The induction units sit beneath an approved porcelain countertop, while compatible cookware activates the cooking zones from above. There are no visible burners, glass panels, grates, or permanent cooking hardware interrupting the island.
Start With the Way the Island Will Be Used
Begin with real cooking behavior, not just the desired number of burners. A homeowner who wants to boil pasta while searing fish needs different zone placement than someone who primarily uses the island for warming sauces and entertaining. Consider whether the island will replace a range entirely, work alongside a wall oven, or serve as a secondary cooking station.
A two-zone system can be an excellent fit for a compact island or a home where the island supports occasional cooking. Three and four cooking zones make more sense when the island is the primary cooktop and multiple pans need to run at once. The goal is not to fill every available inch with cooking power. It is to preserve enough clear porcelain around the active area for plating, prep, and the everyday life that happens at the island.
Think about traffic, too. Avoid placing cooking zones where a guest naturally leans, where a child will sit on a stool, or directly beside the main landing area for groceries. A well-planned layout gives the cook room to work without turning the entire island into a permanent appliance zone.
Confirm the Countertop Before You Design the Cabinetry
The countertop is the foundation of a hidden induction installation. Through-surface induction systems are engineered for approved porcelain materials and specific fabrication requirements. Do not assume that every porcelain slab, thickness, finish, or stone-look surface is suitable simply because it looks similar.
Countertop selection should be validated before the slab is ordered. The system must be matched to an approved porcelain brand and material specification, with the correct thickness and underside conditions for heat transfer. Your fabricator also needs the system documentation before cutting, laminating, reinforcing, or finishing the slab.
This is where an early conversation prevents costly changes. A beautiful slab that cannot support the selected system is not a design win. Confirm compatibility first, then select the exact color, veining, and finish with confidence.
Plan the cooking zones on the slab layout
Once the material is approved, coordinate the cooking-zone positions with seams, veins, edges, sink cutouts, and overhangs. The zones should look intentional when marked, but the best hidden induction layouts remain visually quiet when not in use.
Many homeowners prefer subtle etched icons or discreet location marks so guests can understand where to place cookware. Others want no markings at all. Either approach can work, but completely unmarked surfaces require the household to be comfortable using a placement guide or learning the zone positions. Decide this before fabrication, not after the porcelain is installed.
Build the Electrical Plan Around the System
Hidden induction delivers serious cooking performance, so electrical planning cannot be an afterthought. Depending on the configuration, the system may require dedicated circuits, proper breaker sizing, accessible connections, and a qualified electrician who understands the installation specifications.
Ask your electrician to review the selected model early in the design phase. This is especially important in renovations where the existing service is already supporting wall ovens, refrigeration, wine storage, lighting, HVAC equipment, and charging stations. A load calculation may determine whether the existing panel has capacity or whether electrical upgrades are needed.
Plan for controls as well. Hidden induction systems may use a dedicated controller, and the location should be convenient without compromising the clean architecture of the island. A drawer, discreet cabinet location, or integrated control solution can keep operation close at hand while maintaining the burner-free look above.
Never rely on a general assumption about power requirements. The final circuit plan should follow the specifications for the exact system being installed and local electrical code.
Give the Equipment Room to Breathe
The porcelain surface stays remarkably easy to clean because the heat is generated in compatible cookware, not by an exposed radiant element. Under the counter, however, the induction equipment still needs the correct installation environment. Cabinet clearances, ventilation paths, mounting locations, and access for service must all be designed into the island.
This is one reason hidden induction should be coordinated before cabinets are finalized. A shallow decorative drawer, a structural support, or an appliance garage may occupy the very space needed for the equipment or its airflow. Your cabinetmaker should work from the installation requirements rather than trying to fit the components into whatever space remains.
Do not confuse equipment ventilation with kitchen ventilation. An induction system does not produce combustion gases like gas cooking, but cooking still creates steam, grease, and odors. If the island is the primary cooking location, evaluate ceiling hoods, downdraft options, or a broader ventilation strategy based on how often and how intensely the household cooks.
Coordinate the Full Installation Team
Hidden induction succeeds when the kitchen designer, electrician, cabinetmaker, fabricator, and installer are working from the same plan. The failure point is often not the technology. It is sequencing.
The equipment location, electrical rough-in, cabinet ventilation, porcelain compatibility, and zone layout should be confirmed before the countertop template stage. The fabricator should know exactly where units will sit below the slab and whether any approved markings, drilling, or access requirements apply. The electrician should know when connections will be needed. The installer should have a clear path to mount and test the system once the countertop is in place.
A simple pre-installation review is worth scheduling. Walk through the final drawings and verify the model, burner count, countertop material, zone positions, cabinet dimensions, service access, and electrical requirements. This protects the investment in custom cabinetry and premium porcelain.
Invisacook California helps homeowners and trade professionals align these details before purchase and remains available for direct installation guidance when questions arise.
Choose Cookware Before the First Meal
Induction requires magnetic cookware, but hidden induction also benefits from cookware designed to work efficiently through porcelain. Compatible pots and pans should have a magnetic base and a flat, stable cooking surface sized appropriately for the chosen zones.
This is not the moment to discover that a favorite decorative pan does not activate. Test or replace cookware as part of the project budget. InvisaCookware is designed for this application, while many quality induction-ready pans may also work when they meet the system requirements.
Plan a storage drawer near the island for the cookware used most often. Because the countertop does not announce itself as a cooktop, keeping the right pans close by makes the experience intuitive for family members and guests.
Design for Daily Confidence, Not Just Reveal-Day Drama
The appeal of hidden induction is immediate: no visible burners and a porcelain island that reads as furniture rather than an appliance. The lasting value is more practical. The surface can boil water in under two minutes in the right setup, reach cooking temperatures around 400°F, and return to its role as usable counter space when the pan comes off.
Still, a luxury kitchen should be designed around safe habits. Decide where hot pans will land, where handles will face, and how the family will communicate when a zone is active. The porcelain around cookware may become warm from heat transferred by the pan, even though the induction surface itself is not directly heated like a traditional electric cooktop.
For homes with children, pets, and frequent entertaining, that distinction matters. There are no exposed flames, no projecting grates, and no glass cooktop to scrub around. But good kitchen design always includes thoughtful zones for cooking, serving, and circulation.
A hidden induction island should never feel like a technology experiment. When the slab, cabinetry, power, cookware, and installation team are planned as one system, it becomes something better: a calm porcelain surface that is ready to perform the moment dinner begins.


Leave a comment
This site is protected by hCaptcha and the hCaptcha Privacy Policy and Terms of Service apply.