
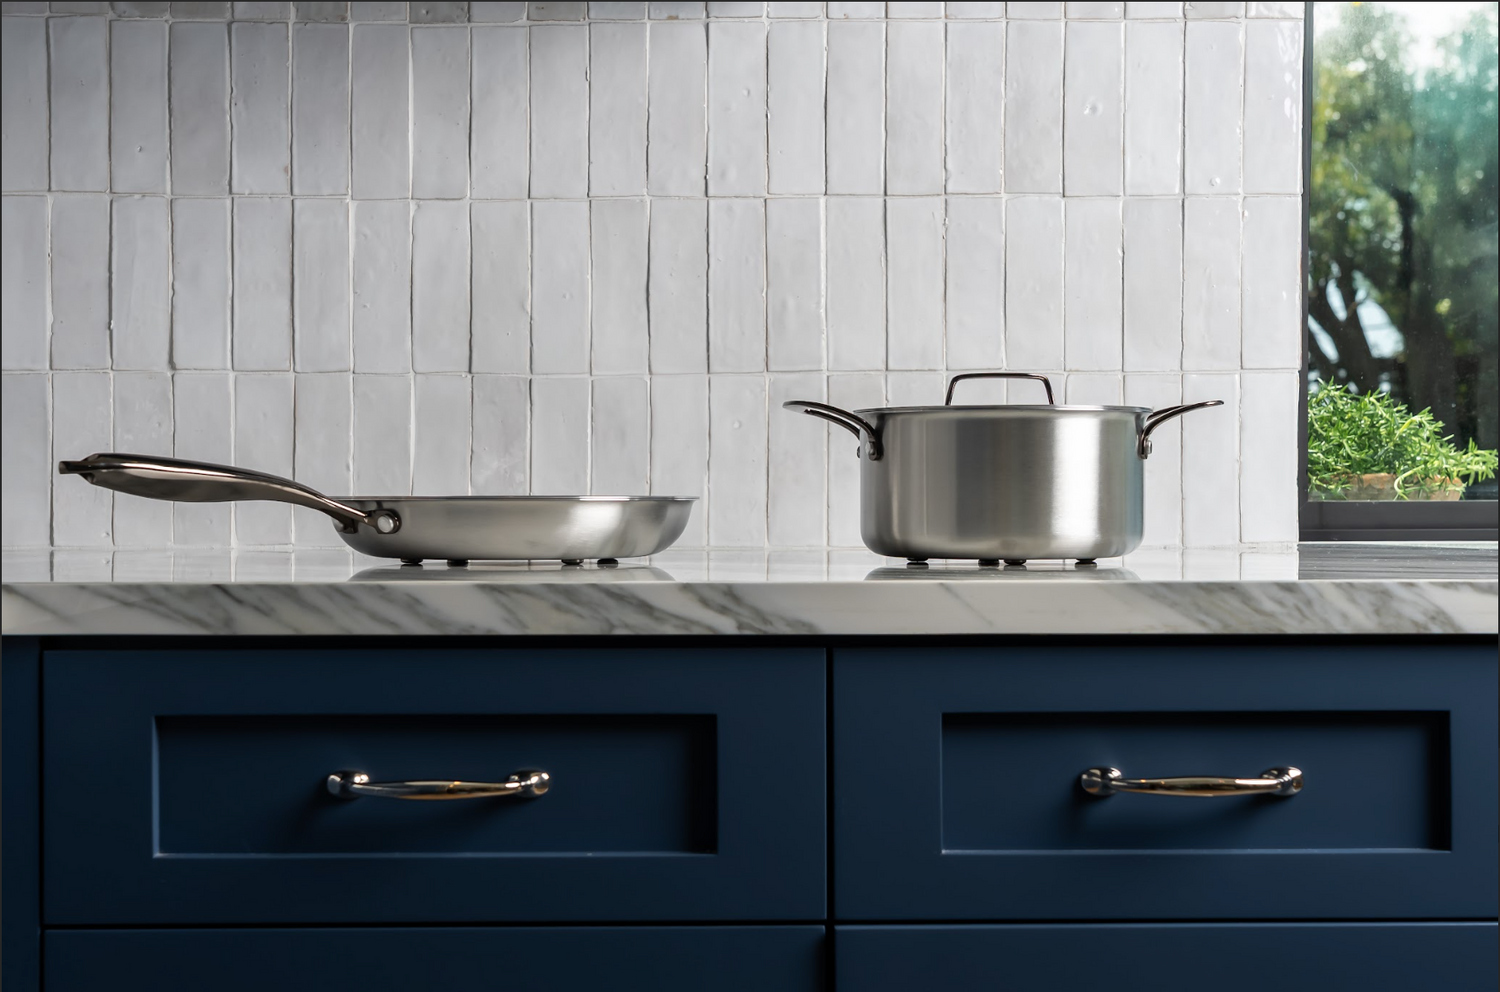
A porcelain island can look like one uninterrupted slab and still boil water in under two minutes. That result starts with a question fabricators and homeowners should settle before the slab is ordered: what countertop thickness for induction will deliver the performance, durability, and concealed look the project demands?
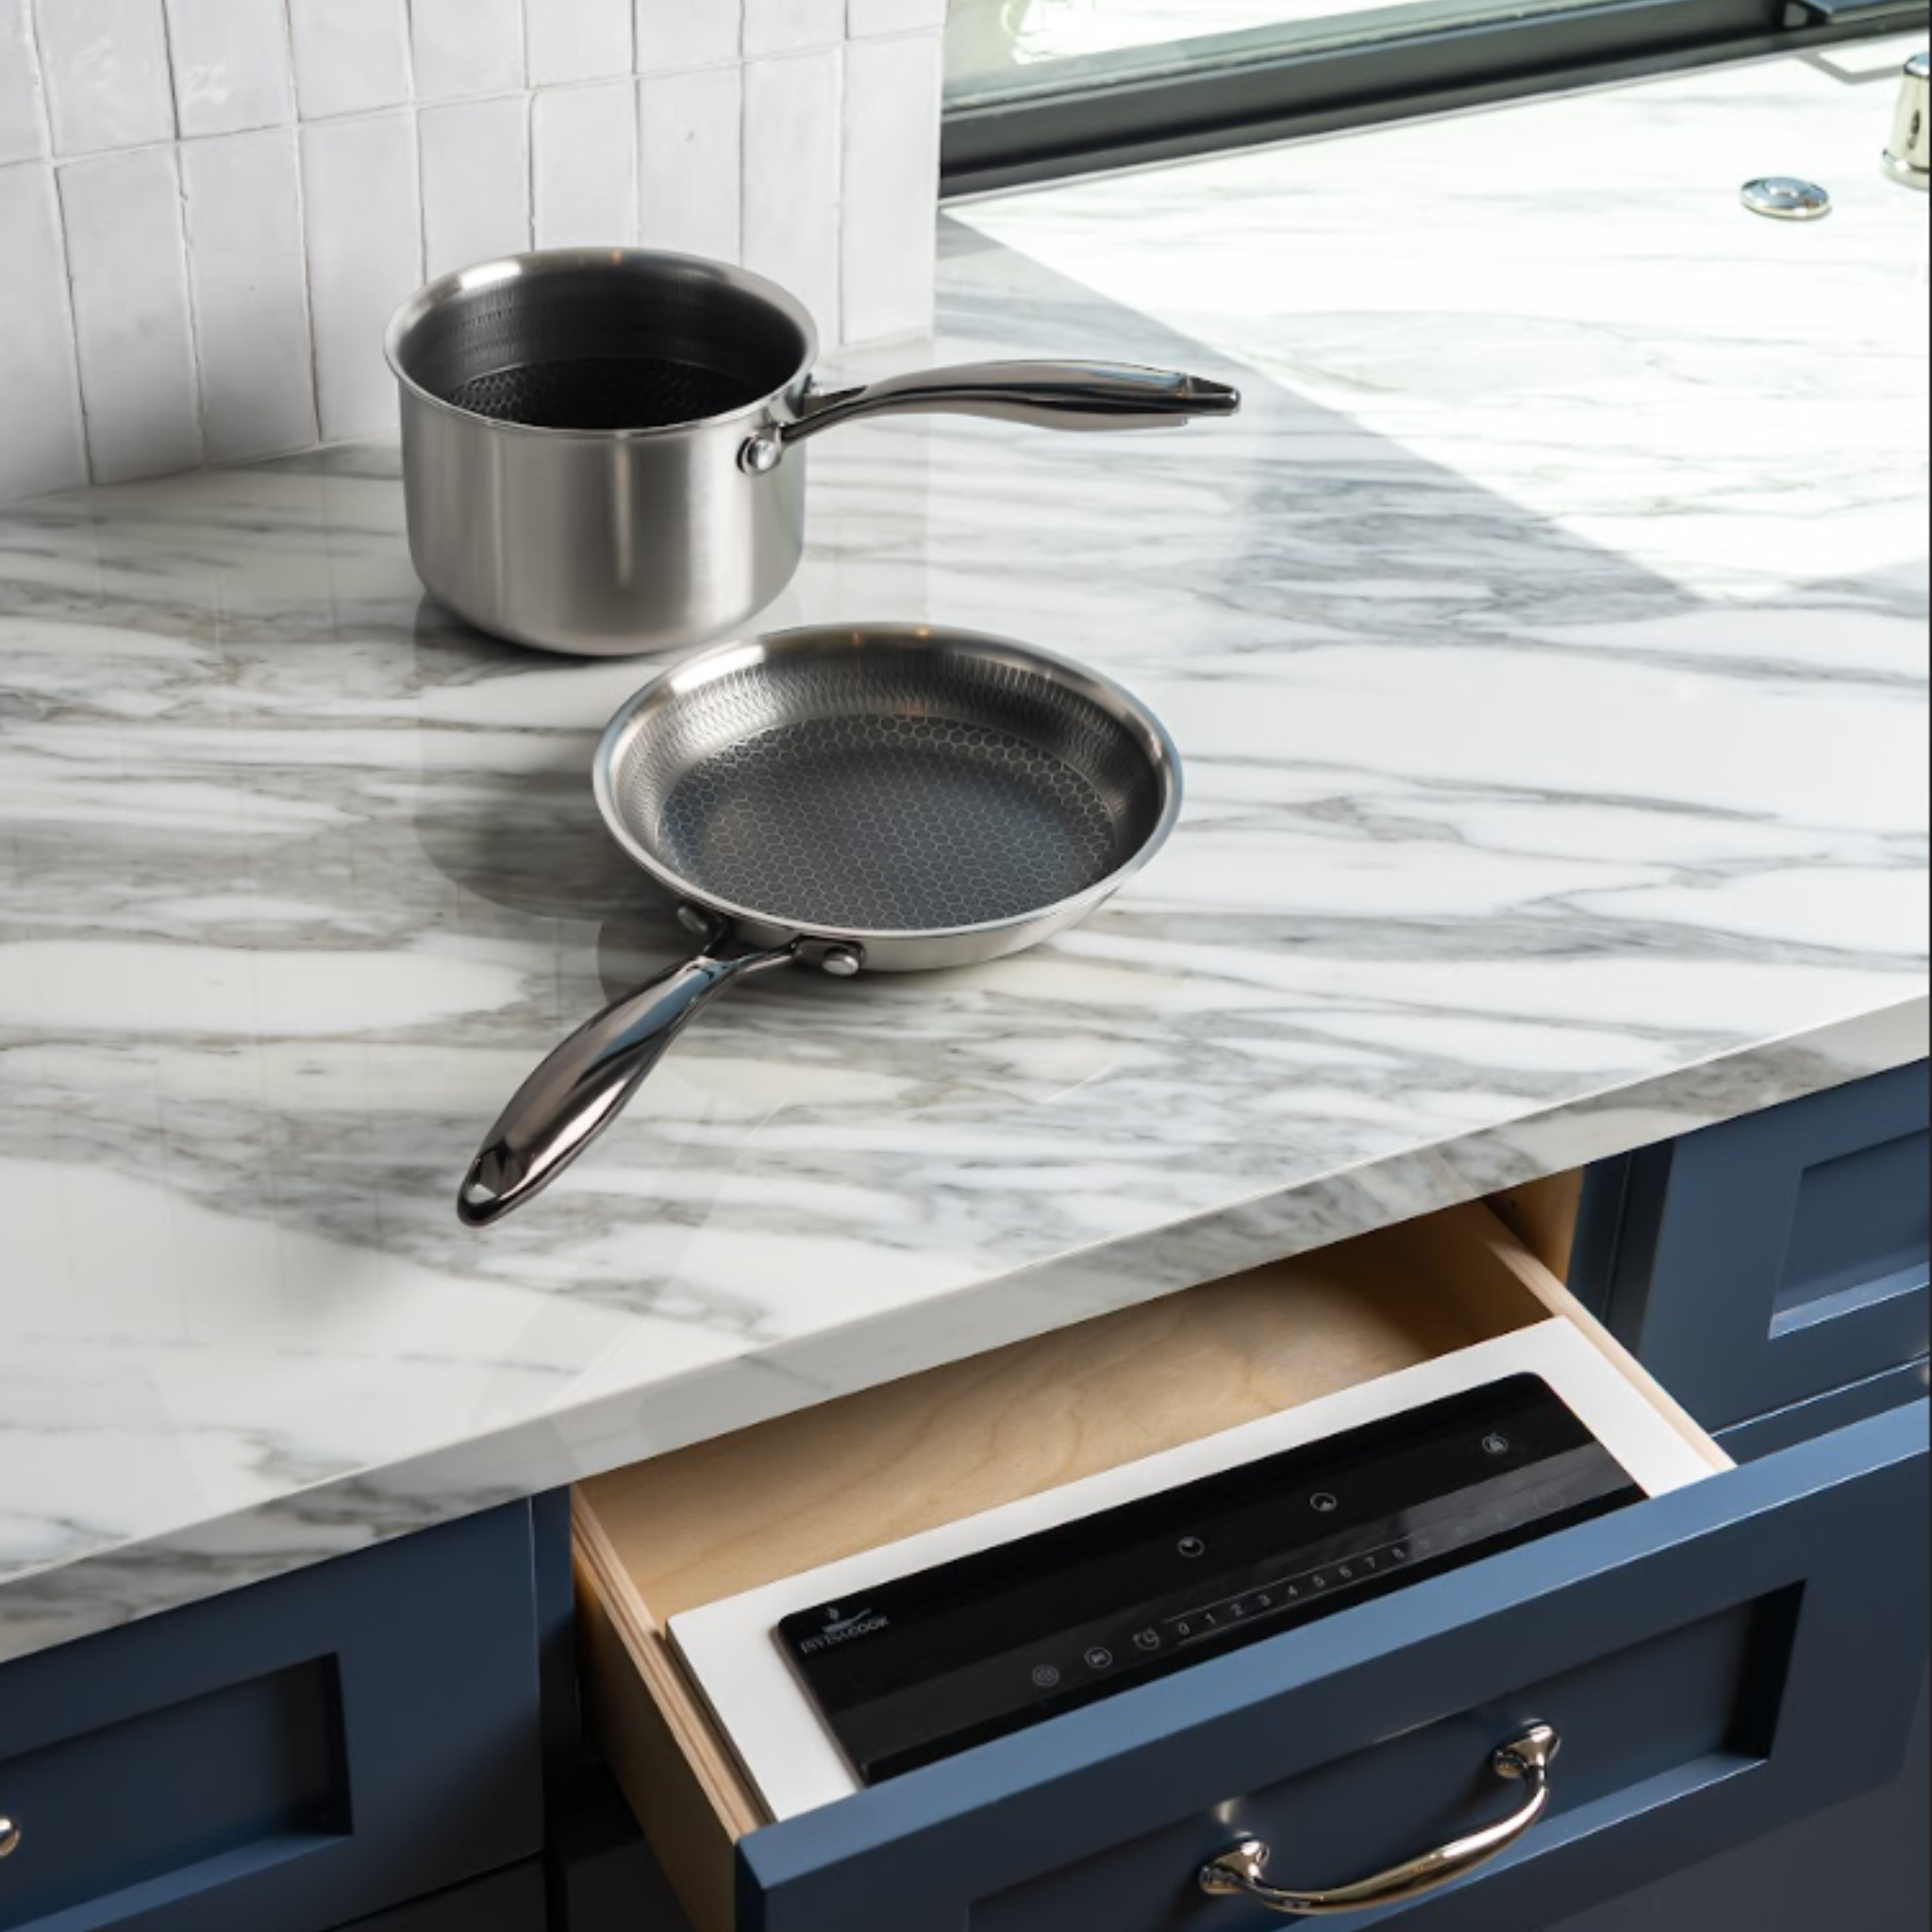
For Invisacook through-surface induction, countertop thickness is not merely a visual choice. It is part of the cooking system. The Invisacook induction modules work beneath the porcelain, transferring energy through the material to compatible cookware above. Choose an approved porcelain surface at the correct thickness, pair it with the right support and ventilation plan, and the island remains cool around the pan, easy to clean, and completely burner-free when not in use.
What Countertop Thickness for Induction Is Best?
For an Invisacook installation, approved 12 mm and 20 mm porcelain are the common starting points. Both can create a refined, invisible cooking surface when they are approved for through-surface induction and installed to the system requirements.
The better choice depends on the slab, the island design, and the cooking experience you expect. A 12 mm surface can offer strong heat transfer and a sleek, contemporary profile. A 20 mm surface brings a more substantial visual presence and may better suit a dramatic waterfall island, a thick-edge detail, or a project where the fabricator is building a heavier architectural look.
Thickness alone is never the entire answer. The porcelain brand, color, finish, composition, module placement, cabinet structure, and clearance below the slab all matter. An unapproved 20 mm porcelain is not automatically compatible simply because another 20 mm porcelain has worked. The slab must be specifically validated for the application.
Why thicker is not automatically better
With conventional cooktops, the appliance establishes the cooking surface. Through-surface Invisacook induction asks the countertop to become that surface. More material between the induction module and cookware can change the way heat is delivered, so the system needs to be engineered for the exact countertop material and thickness.
A thicker porcelain slab can be the right design decision, but it cannot be treated as a generic upgrade. The approved material list and installation specifications determine whether that thickness supports reliable heat transfer and the expected 400°F cooking performance.
That is why a countertop sample is not enough. A porcelain selection should be reviewed before fabrication, before appliance openings are planned, and ideally before the island construction is finalized.
Start With the Surface, Not the Burner Layout
A visible induction cooktop is selected by its cutout size and finish. An Invisacook invisible induction system should be planned from the surface down. The porcelain is both the visual focal point and the working plane, so the material decision comes first.
Porcelain is particularly well suited to this approach because it is nonporous, durable, and designed for demanding kitchen use. Spills do not collect around burner grates or glass-top edges. Once the cookware is removed, the island returns to a clear, usable surface for prep, serving, homework, or entertaining.
Still, porcelain varies. Density, pigments, patterning, backing, and fabrication details can differ by brand and collection. Dark or dramatic slabs may fit beautifully within an architectural kitchen, but approval should come from the system guidance rather than assumptions about color or appearance.
At Invisacook California, this review is part of the decision process. Getting the material and thickness right before the slab is cut protects the design and avoids expensive last-minute changes.
12 mm vs. 20 mm Porcelain for Invisible Induction
A 12 mm porcelain countertop is often favored for clean, minimal installations. It can create an exceptionally crisp island edge, and it is a natural fit for modern kitchens where thin planes and shadow reveals define the architecture. With an approved slab and correct system setup, it delivers the fast, responsive induction performance homeowners expect.
A 20 mm porcelain countertop makes a stronger visual statement. It can give a large island more mass, complement full-height porcelain backsplashes, and support a bolder mitered edge design. For clients who want the countertop to read as furniture or sculpture rather than just a work surface, that extra thickness can be worth it.
The trade-off is coordination. A 20 mm installation still needs to meet the appliance's approved thickness range, air-space requirements, and mounting instructions. It may also affect cabinet elevations, sink reveals, overhang engineering, and the visual relationship between the countertop and adjacent cabinetry.
Neither thickness is universally superior. A 12 mm slab is not a compromise, and a 20 mm slab is not automatically more capable. The right choice is the approved surface that supports your desired look and the specific cooking system being installed beneath it. Some brands only offer 12mm and some only offer 20mm, so the design can color can decide the thickness for you.
The Installation Details That Protect Performance
The countertop receives most of the attention because it is what everyone sees. The unseen details determine whether the system performs as intended for years.
First, the island needs adequate structural support. Porcelain is strong, but a large slab, long overhang, waterfall panels, seams, and cutouts all require a fabricator's plan. The Invisacook induction modules must also be mounted precisely beneath the marked cooking zones. This is not a job for approximate placement.
Second, plan for ventilation and service access below the countertop. The modules need the clearances specified for the system so heat can be managed properly. A beautiful island with no practical route for electrical work, airflow, or future access can turn a straightforward installation into a costly correction.
Third, coordinate electrical requirements early. Through-surface Invisacook induction systems use dedicated electrical circuits based on the number of cooking zones selected. One burner may suit a compact bar or secondary prep kitchen, while a three- or four-burner layout can make a main island the centerpiece of everyday cooking. Your electrician should work from the appliance specifications, not from a rough assumption based on a standard range.
Finally, use the supplied cooking-zone templates and markings correctly. Invisacook Invisible cooking benefits from subtle visual guidance, but the zones still need to be located accurately. This ensures cookware sits where the energy transfer is designed to occur and lets the island remain intuitive for guests and family members.
Avoid These Costly Thickness Mistakes
The most common mistake is choosing a porcelain slab for its appearance, then asking whether it works for Invisacook invisible induction after fabrication has begun. Approval should happen before purchase whenever possible. Changing slabs after templating can delay the entire renovation.
Another mistake is adding a thick mitered edge and assuming the center field is equally thick. A mitered perimeter may create the appearance of a substantial 2-inch island while the actual countertop field over the induction modules remains 12 mm. That can be an excellent way to achieve a bold profile without changing the thickness where cooking takes place, provided the design and fabrication are planned correctly.
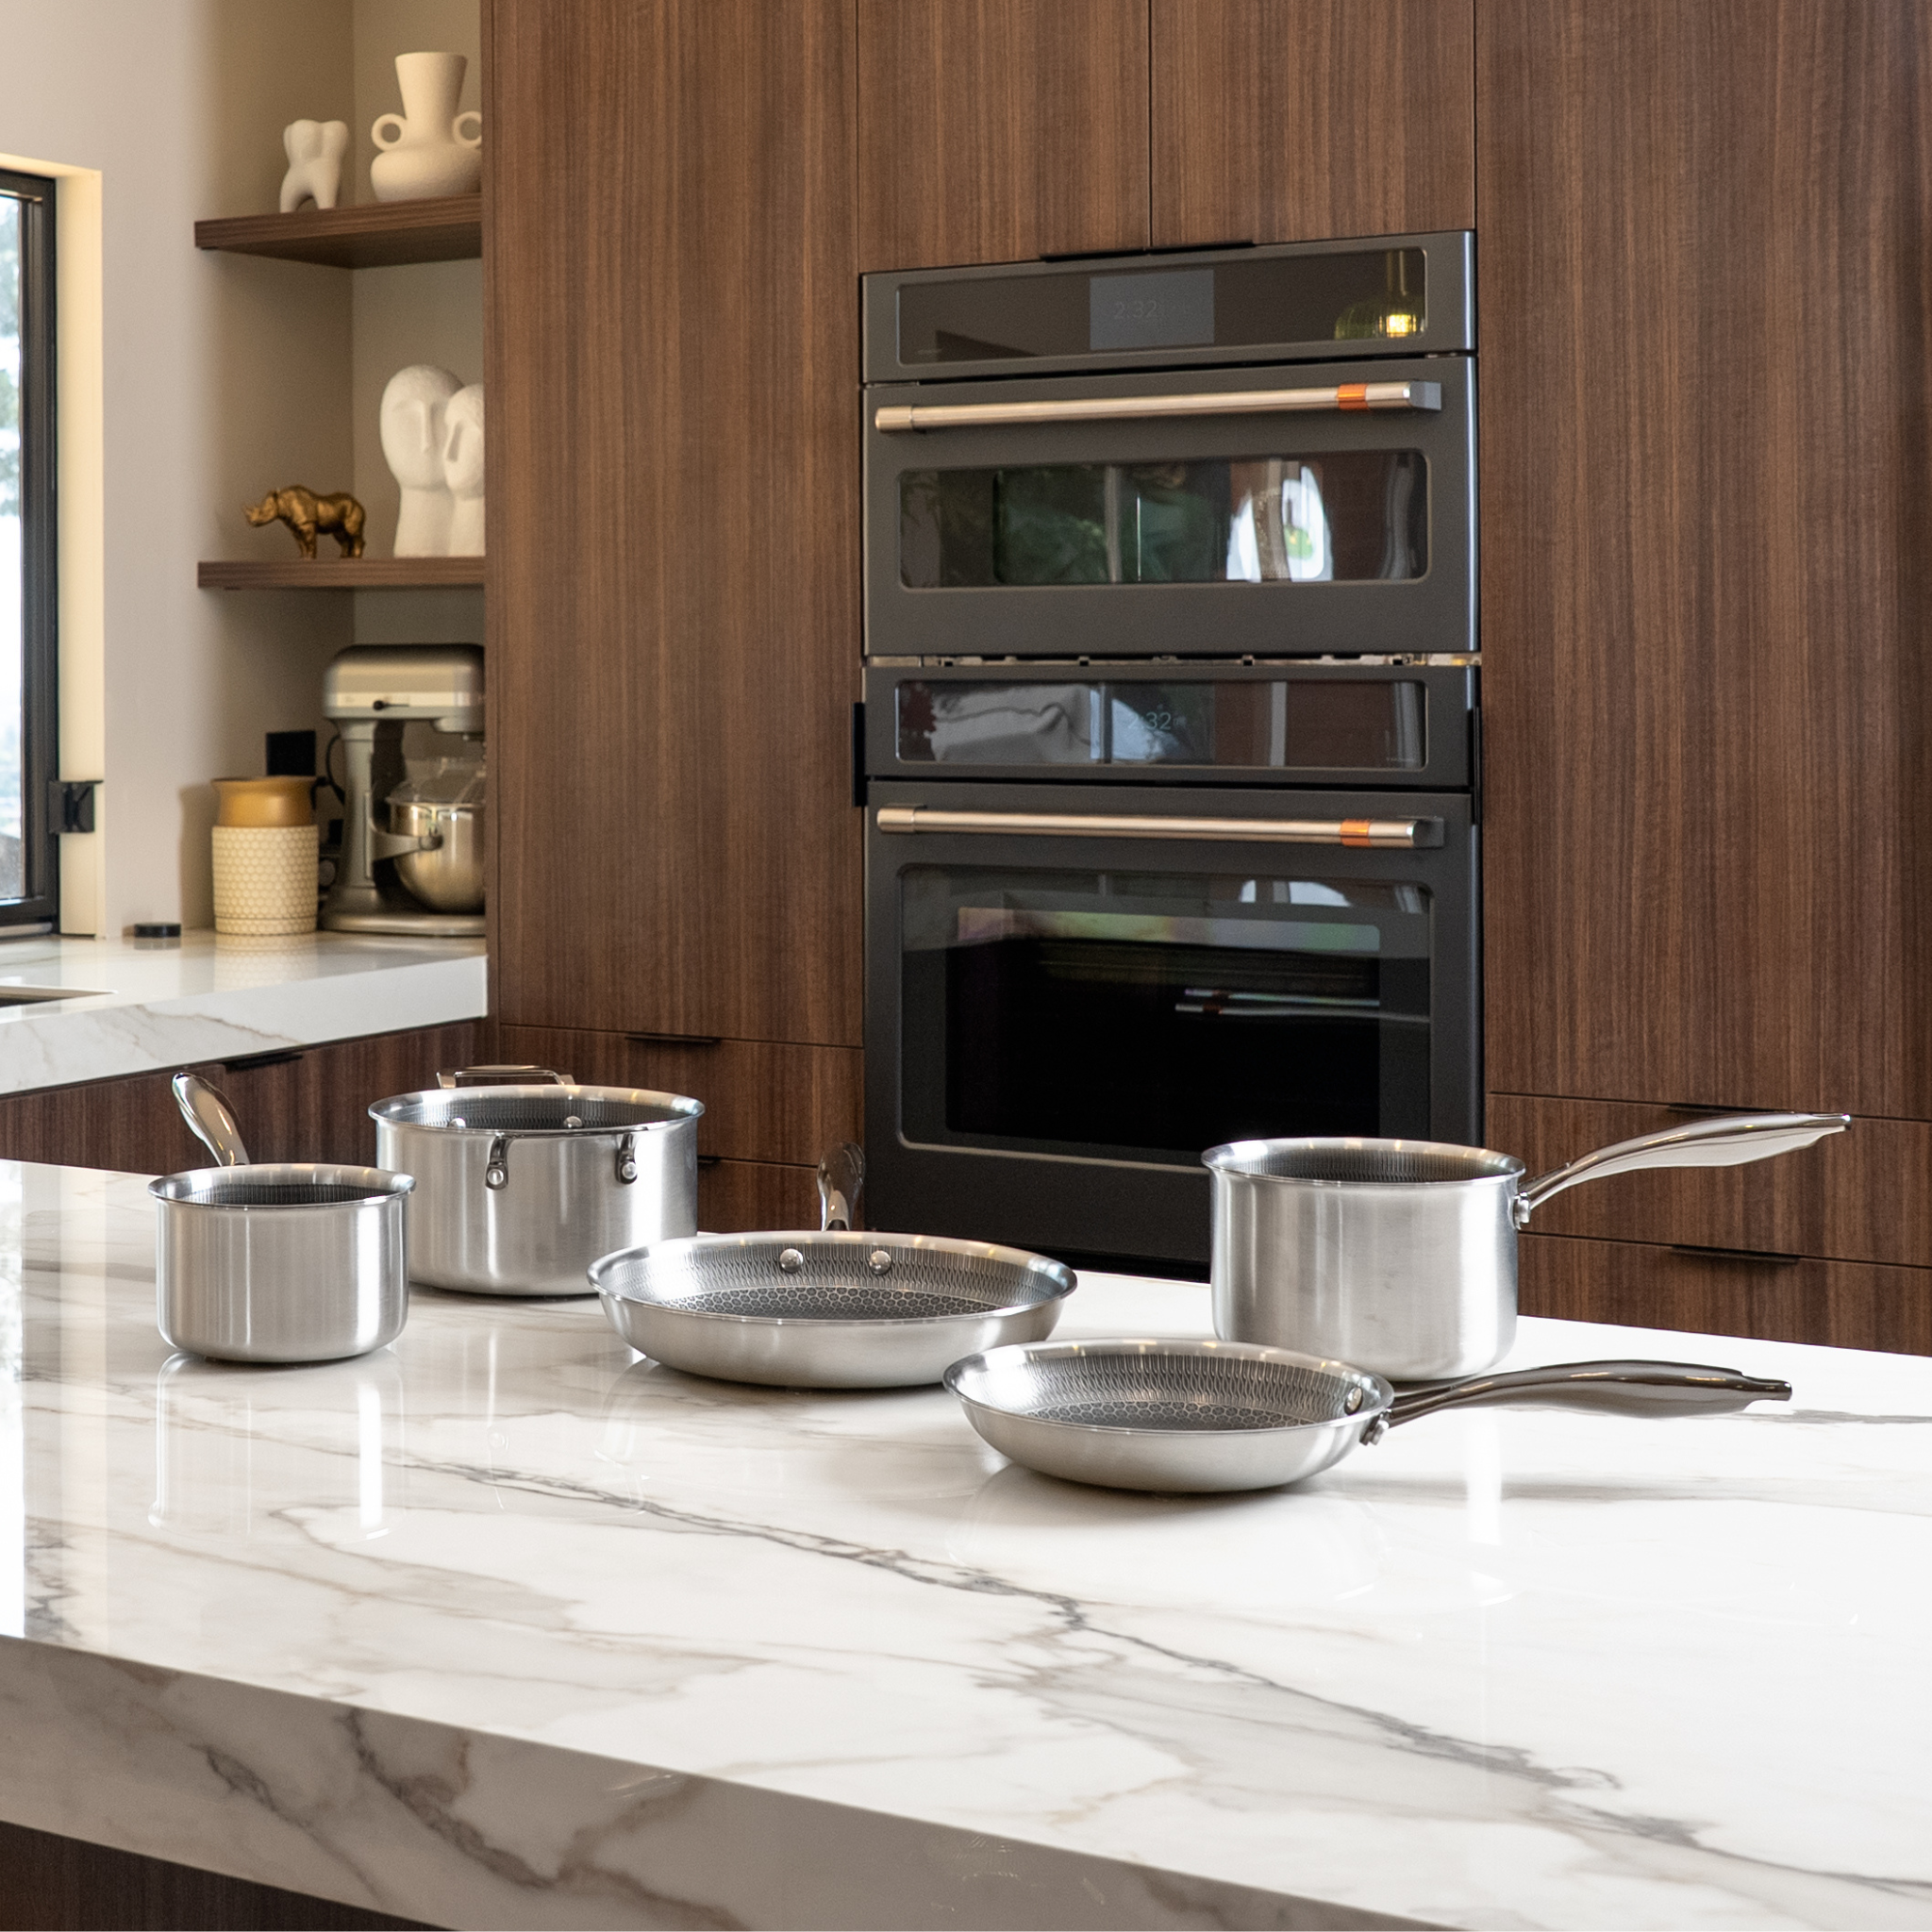
It is also risky to treat all induction cookware as interchangeable. Through-surface systems require compatible magnetic cookware with a flat base. Purpose-built InvisaCookware is designed to maximize contact and performance through the porcelain. A warped pan, undersized pan, or nonmagnetic cookware can make even a perfectly installed system seem less responsive.
Design for a Countertop That Does More
The appeal of Invisacook invisible induction is not simply that the burners disappear. It is that the island can change roles without changing rooms. Cook dinner on an approved porcelain surface, wipe it clean, and use the same space as a buffet, a dining surface, or a polished bar for guests.
For families, the cool surrounding countertop and lack of exposed flames can bring welcome peace of mind. For designers, there is no black glass rectangle interrupting a veined porcelain slab. For homeowners who have outgrown the visual bulk of a range, it is a way to keep serious cooking performance while making the kitchen feel larger and calmer.
Choose countertop thickness as a performance decision wrapped in a design decision. Review the exact porcelain, confirm whether 12 mm or 20 mm is approved for your system, and coordinate fabricator, electrician, and installer before the first cut. Done properly, the only thing visible on your island is the surface you chose to show.

Leave a comment
This site is protected by hCaptcha and the hCaptcha Privacy Policy and Terms of Service apply.