
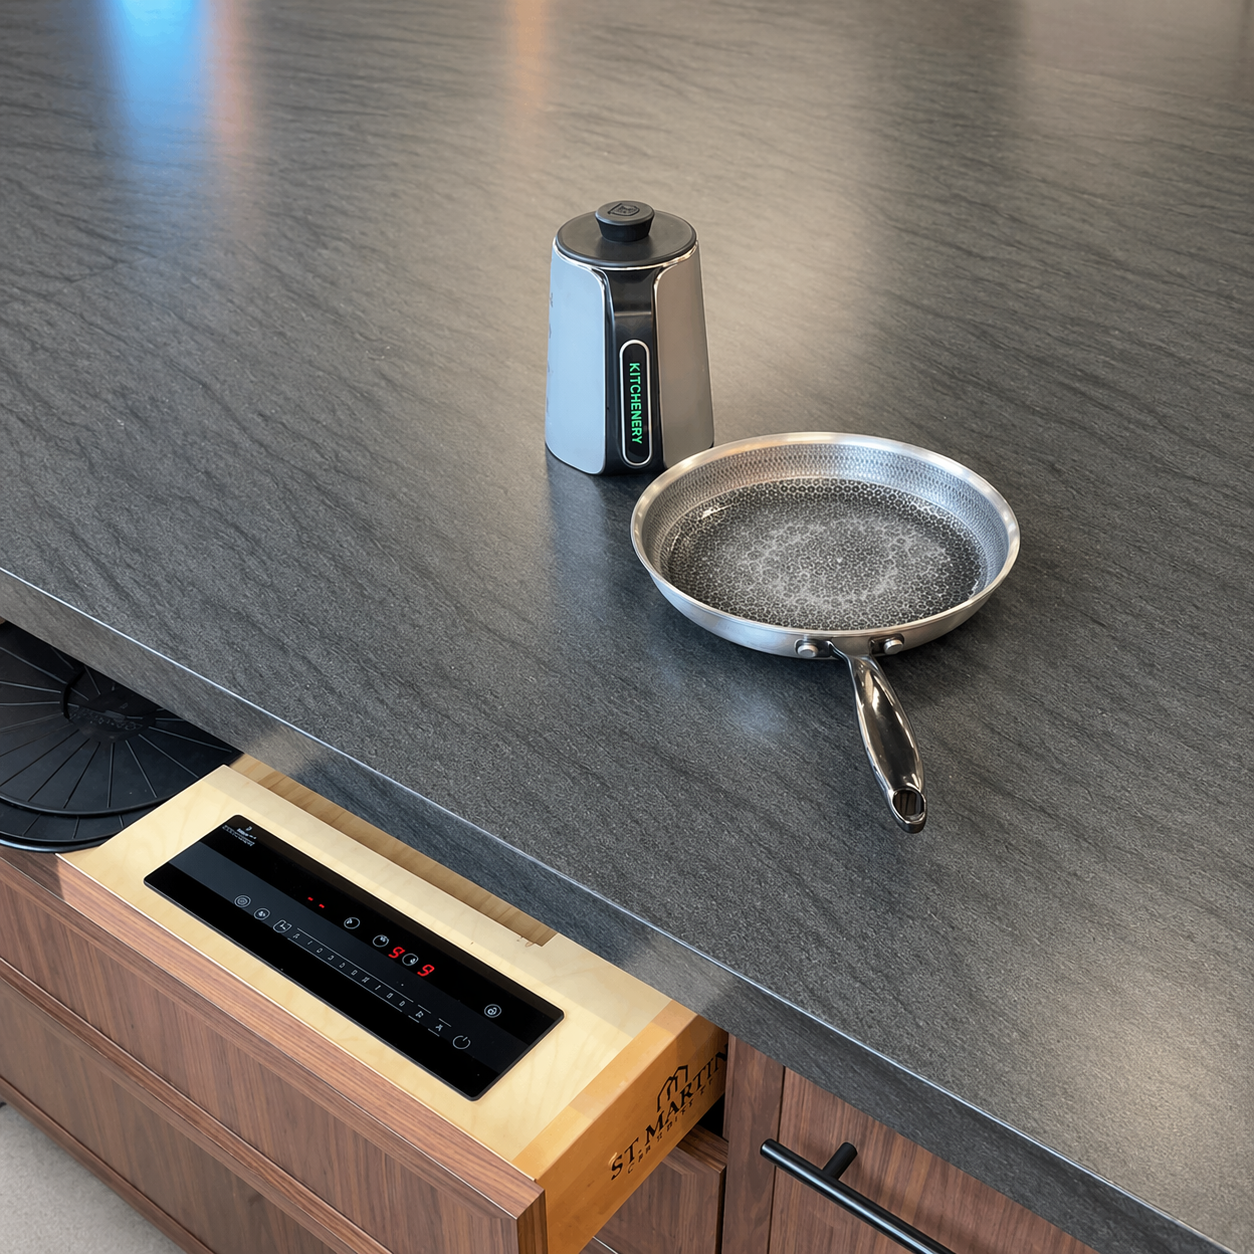
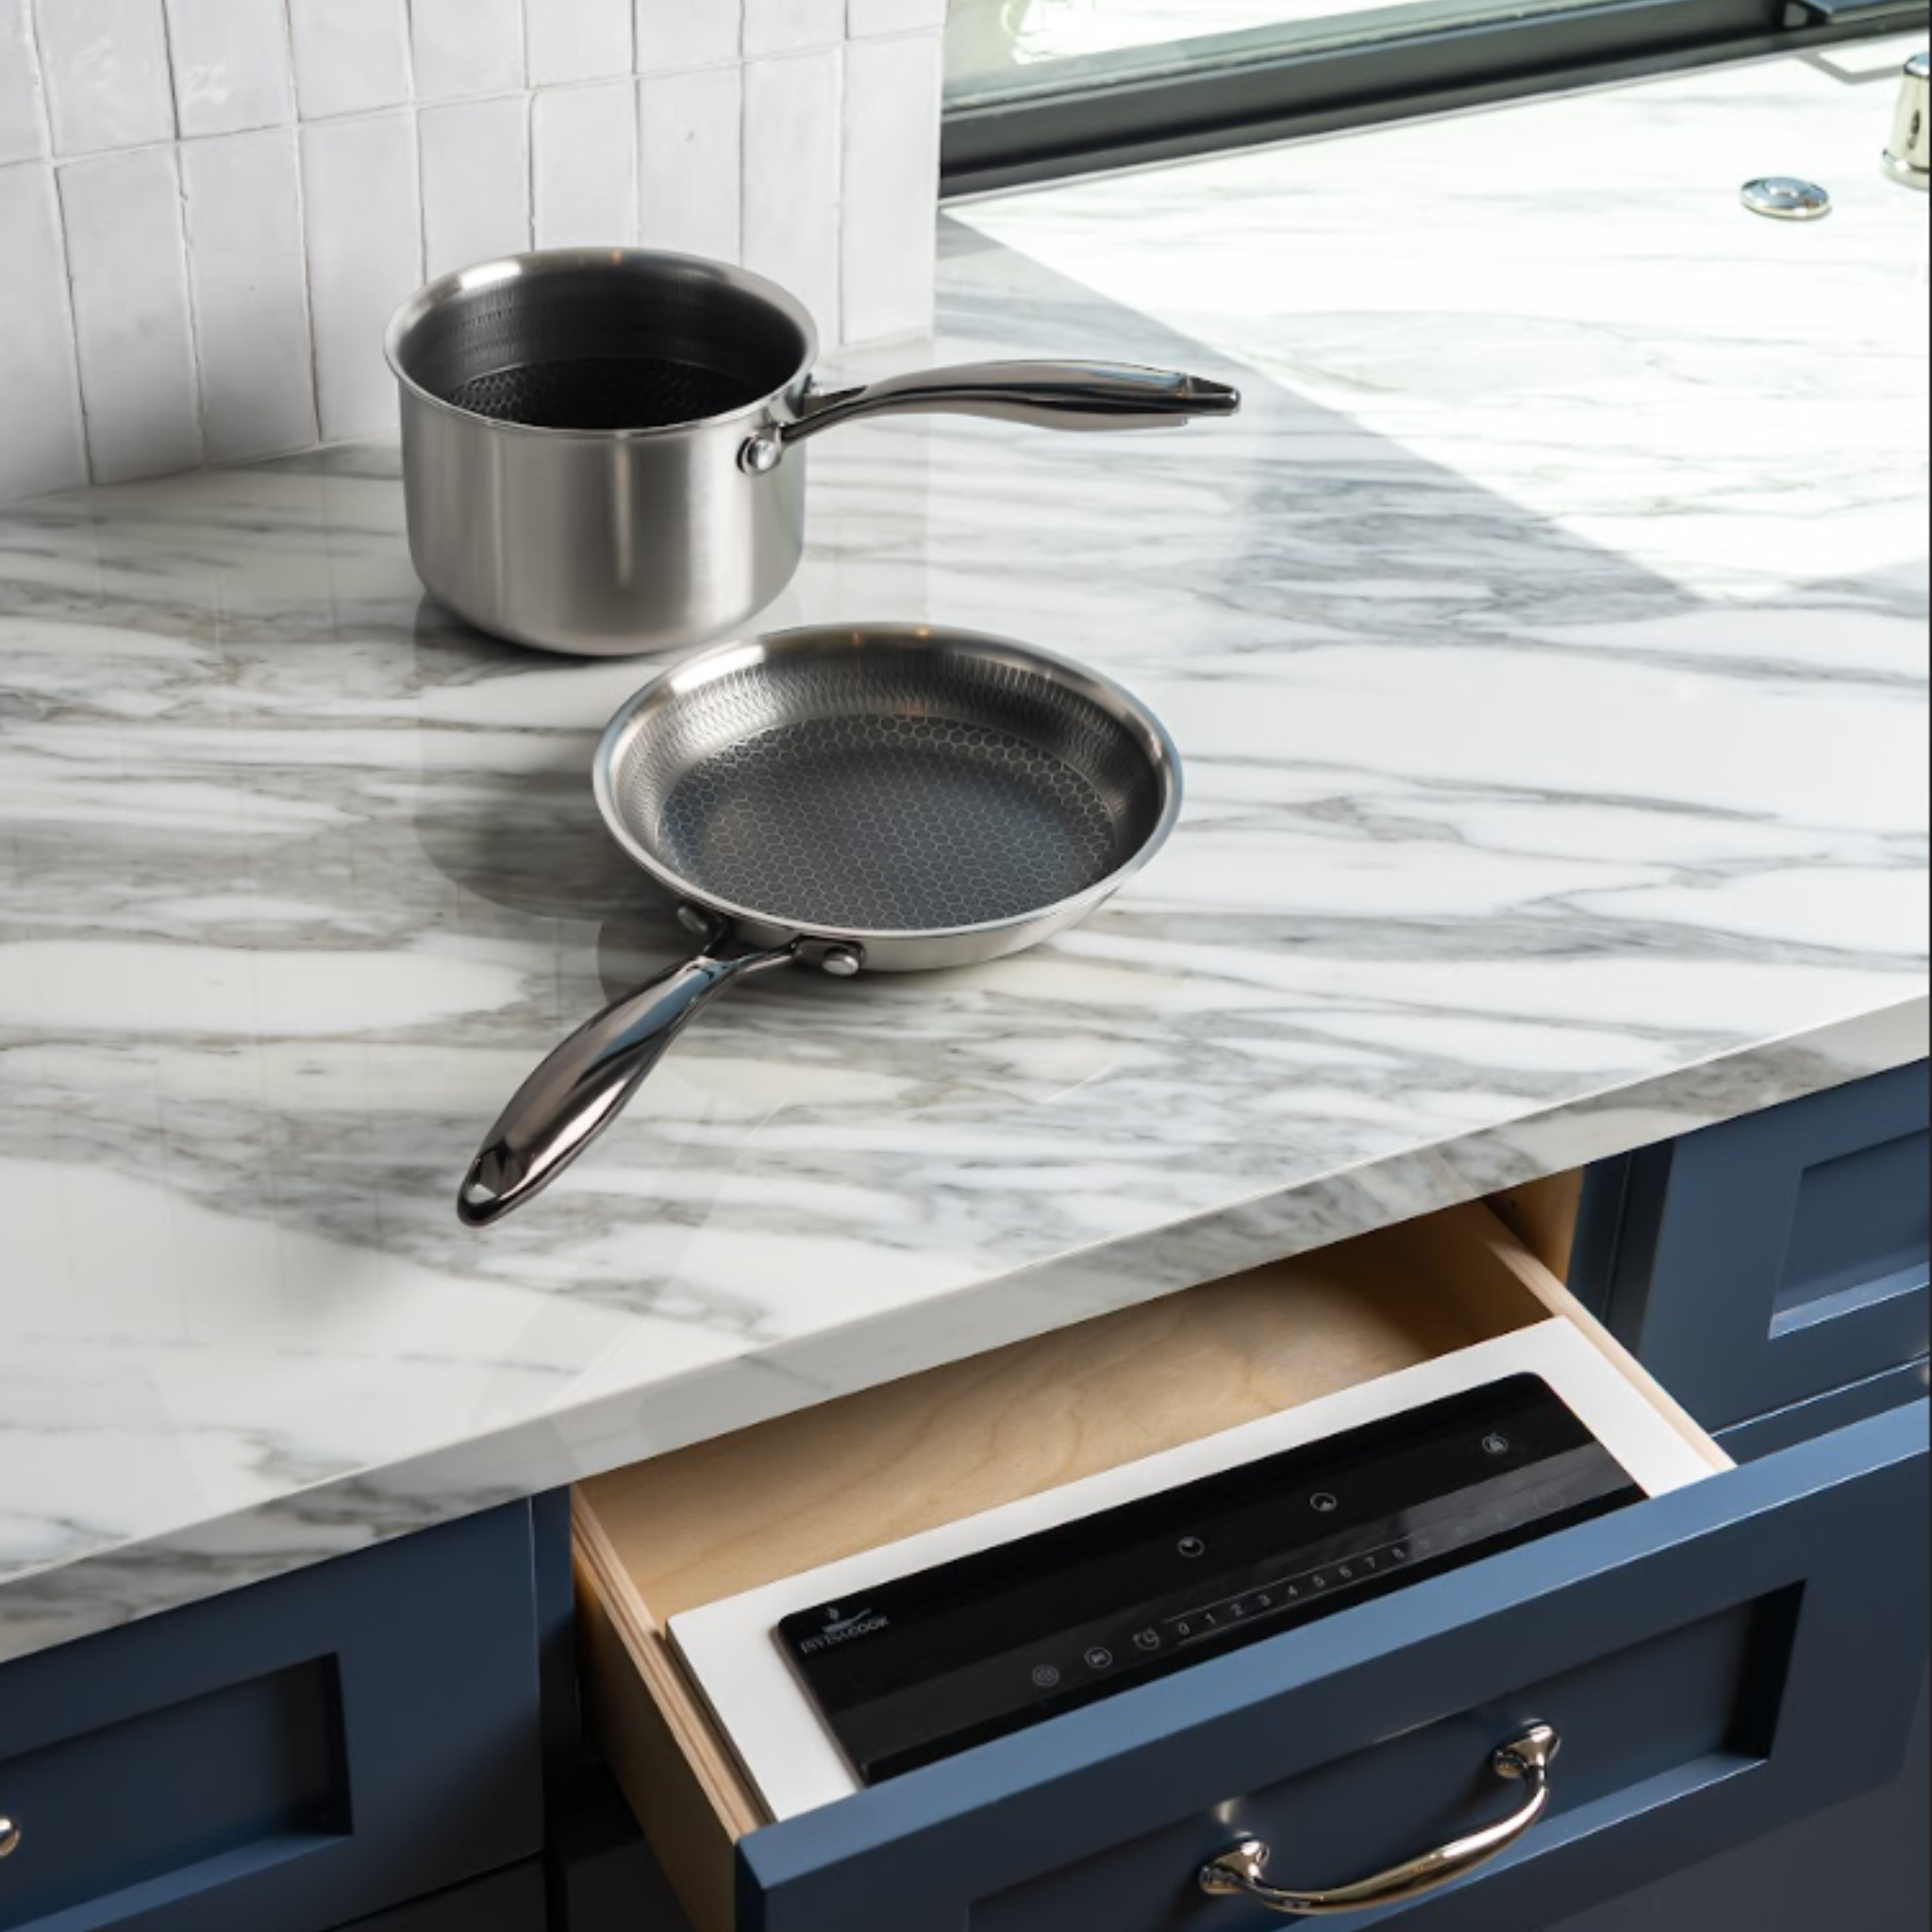
A porcelain island can be a striking uninterrupted surface - until a conventional cooktop cuts a black rectangle into the center of it. Through surface induction installation changes that equation. The induction modules sit beneath an approved porcelain countertop, leaving the cooking area visually quiet, cool between uses, and ready to become prep space, a serving station, or a dining surface.
This is not a standard appliance swap. It is a coordinated decision involving the homeowner, kitchen designer, fabricator, electrician, and installer. When those decisions happen early, the result is exactly what a luxury kitchen should deliver: invisible design and unmistakable performance.
What through-surface induction actually requires
Through-surface induction cooking transfers electromagnetic energy through a compatible porcelain slab to heat magnetic cookware. The countertop itself does not generate the heat. It warms only from residual heat transferred back from the pan, which helps make cleanup remarkably simple and gives families a more practical surface around children and pets.
The system is engineered for specific porcelain materials, thicknesses, and installation conditions. That is why a beautiful slab alone is not enough. Countertop compatibility must be confirmed before fabrication, not after the island has been installed.
Approved porcelain is the central requirement. Through-surface induction systems are designed around materials with known thermal and electromagnetic properties. Thickness matters, as do the particular porcelain brand, slab construction, and any reinforcement strategy. A fabricator should never assume that a material labeled "porcelain" is automatically appropriate for hidden induction.
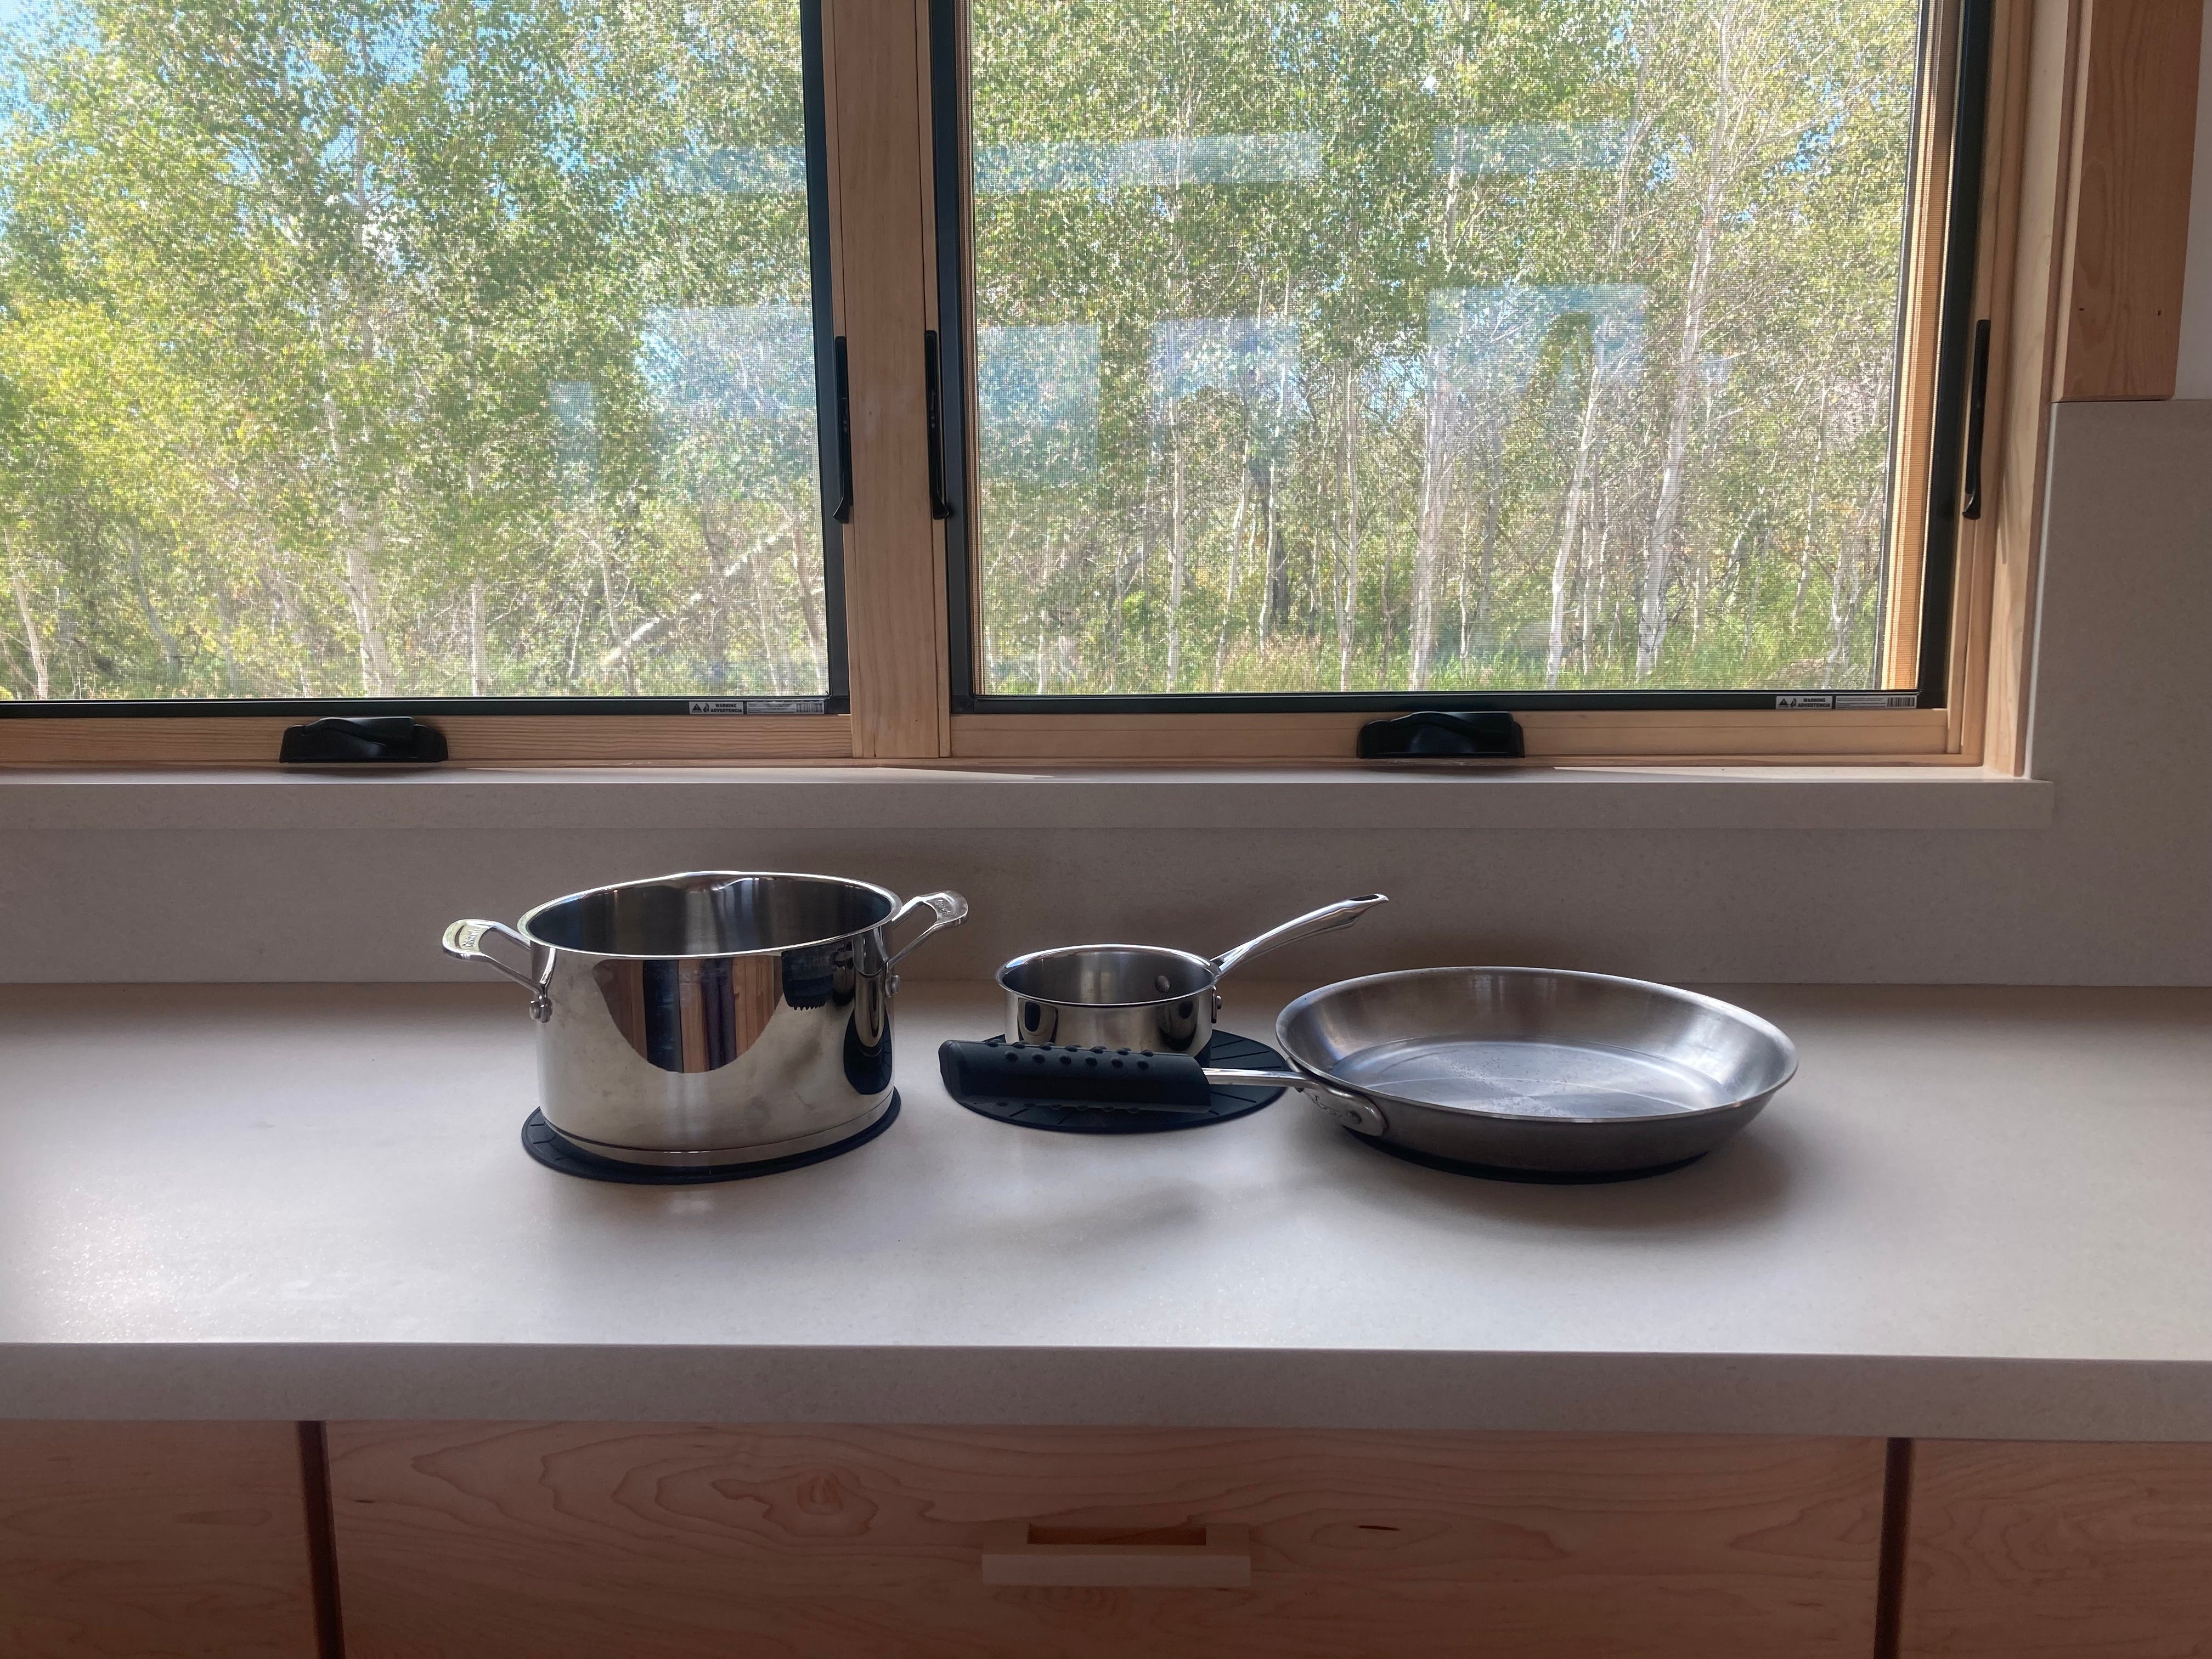
The cookware matters, too. Pans must be magnetic and designed to perform efficiently with induction. InvisaCookware is built for this application, helping the system deliver responsive heating, strong pan contact, and a refined cooking experience through the counter. Existing induction-ready cookware may work in some cases, but it should be evaluated rather than treated as a given.
Start the installation plan before countertop fabrication
The best time to plan a hidden cooktop is when the kitchen layout is still flexible. By the time templates are complete, critical choices such as module location, support structure, cabinet access, power routing, and ventilation can be expensive to change.
First, decide how the island will live when nobody is cooking. A two-burner layout may suit a minimalist second kitchen or entertaining island. Three- and four-burner configurations support more ambitious daily cooking while preserving the clean plane of the porcelain. The right answer depends on cooking habits, pan sizes, and whether another cooking appliance will remain elsewhere in the kitchen.
Next, establish the active cooking zones. Unlike visible burners, these areas need intentional visual communication. Discreet markings, design details, or a chosen placement pattern can help guests understand where cookware belongs without compromising the uninterrupted look of the stone. The zones also need sufficient separation from sinks, raised seams, countertop edges, and other built-in features.
A qualified fabricator should receive the appliance specifications before cutting, laminating, reinforcing, or setting the slab. The cabinet design must preserve access to the modules for installation and future service. A hidden system may disappear from view, but it should never disappear behind inaccessible construction.
Coordinate the electrical work early
Induction performance begins with proper electrical planning. Each configuration has specific electrical requirements, including dedicated circuits, voltage, breaker sizing, and wiring. A licensed electrician should work from the exact model specifications, not estimates based on a conventional electric cooktop or a prior project.
The electrical route needs to be planned around cabinetry, drawer boxes, structural members, and the space required beneath the countertop. This is particularly important on a statement island, where storage is often tightly designed and every inch below the slab has a purpose.
Do not leave power planning until the final installation visit. Early coordination lets the electrician place connections cleanly, keeps service access practical, and prevents last-minute compromises to drawers or finished panels.
Build in air movement and clearances
Induction is highly efficient, commonly delivering roughly 83 to 90 percent energy efficiency, but the electronics below the counter still need appropriate ventilation. The modules require defined clearances and a cabinet environment that allows heat to dissipate as specified by the manufacturer.
This is where custom cabinetry can either support the design or undermine it. A tightly sealed appliance bay, crowded drawer stack, or blocked vent path may look immaculate on a rendering but create performance and service problems later. Cabinetmakers and installers should follow the installation documentation precisely, including required open space, ventilation paths, and restrictions around adjacent components.
Ventilation for cooking odors is a separate design question. Because there is no visible cooktop, some homeowners assume a hood is unnecessary. That depends on how and what you cook, local code, and the kitchen's overall ventilation plan. Searing, frying, and aromatic cooking still produce moisture, grease, and odors. A ceiling hood, downdraft solution, or whole-home ventilation approach may be appropriate, but it should be selected for real cooking behavior rather than aesthetics alone.
The countertop is part of the appliance system
A through-surface induction installation asks more of the countertop than a typical island does. The porcelain must be handled, supported, and finished according to both fabricator standards and appliance requirements. Seams, unsupported spans, edges, and cutouts all deserve deliberate attention.
The cooking zones should not be treated as leftover space between a sink and decorative feature. Place them where large cookware can sit comfortably and where the cook has workable landing space nearby. Consider traffic flow as well. An island designed for entertaining should allow someone to cook while others gather without placing handles, hot pans, or active cookware directly in a primary pathway.
There are practical trade-offs. A completely unmarked slab is visually dramatic, but subtle zone indicators can make daily use more intuitive. A large four-zone island maximizes capability, while a smaller configuration may preserve more uninterrupted serving space. The strongest design does not chase invisibility at the expense of how the household actually cooks.
Installation day: precision over improvisation
Once the porcelain, cabinetry, electrical work, and ventilation provisions are ready, installation becomes a controlled process rather than a construction-site experiment. The modules are mounted beneath the approved countertop in their specified positions, connected to the planned electrical supply, and tested with compatible cookware.
Testing should cover more than whether a pan gets warm. Confirm that each zone recognizes cookware properly, power settings respond as expected, and the countertop remains within the intended operating behavior. A well-designed system can reach cooking temperatures up to 400°F and bring water to a boil in under two minutes under the right conditions, but those results depend on the complete installation - material, pan, placement, power, and airflow.
The final handoff should include a clear explanation of cookware placement, control use, cleaning, and what not to place over active zones. Owners should also know where service access is located. Hidden technology feels effortless when it is supported by a team that has planned for the details behind the surface.
Common mistakes that cost time and money
The most avoidable mistake is choosing the slab first and investigating compatibility later. A close second is treating the project like a conventional cooktop install, where a cutout solves the appliance question. Through-surface induction is a system, not an add-on.
Other costly errors include relying on unverified cookware, omitting required cabinet ventilation, failing to reserve service access, and assigning electrical work without the final model specifications. These issues can force redesigns after cabinets or countertops are complete, when every correction becomes more disruptive.
For high-end renovations, the smarter approach is a single technical conversation before fabrication begins. Invisacook California provides direct guidance through that process, with Ben available to help coordinate the practical questions that arise between design intent and installed performance.
A hidden cooktop should make an island more useful, not merely more photogenic. Plan the surface, the space below it, and the way your household cooks with equal care. Then the moment the pans are put away, your kitchen returns to what it was designed to be: a beautifully open place to live.

Leave a comment
This site is protected by hCaptcha and the hCaptcha Privacy Policy and Terms of Service apply.