
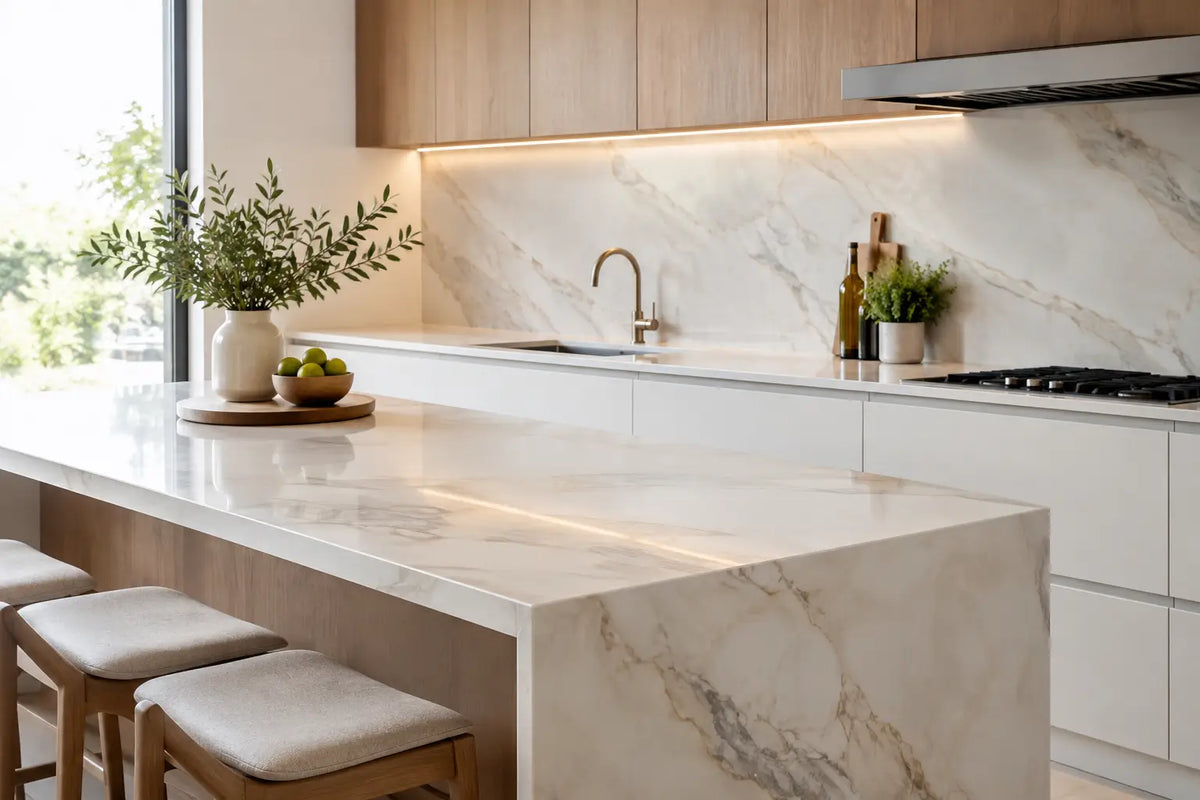
A luxury kitchen island should not lose its purpose the moment dinner begins. It should be a prep surface at noon, a cooking zone at six, and a clean gathering table by eight. This seamless kitchen design guide focuses on the decisions that make that transition possible: material selection, appliance planning, electrical coordination, and details that protect the visual calm of the room.
The goal is not simply to remove visible burners. It is to create an island that works harder without looking busier. With through-surface induction beneath approved porcelain, the countertop remains an uninterrupted architectural plane while delivering cooking performance up to 400°F, rapid boil times, and a surface that is far easier to clean than a conventional range.
Start With the Island’s Real Job
The strongest kitchen plans begin with behavior, not appliance placement. Consider what happens at your island across a typical week. Is it where children eat breakfast, guests gather with a drink, or a caterer stages plates? Is it the primary cooking location or a secondary station beside a wall oven?
A large island can carry several roles, but it needs clear zones. Reserve the center for the activity that needs the most uninterrupted space. In a conventional layout, that often means working around a cooktop and its raised controls. With hidden induction below porcelain, the same surface can shift between cooking and serving when the cookware is put away.
This approach is especially effective in open-plan homes, where a visible range can pull attention away from cabinetry, stone, and sightlines. The cooking function stays available, but the room reads more like a refined living space.
The Countertop Is the Foundation
Not every slab can support through-surface induction. Porcelain is the preferred material because it is dense, heat-tolerant, nonporous, and available in large-format slabs with convincing natural-stone looks. It also offers the thin, consistent material profile required for reliable performance.
Countertop approval is not a detail to sort out after the slab is ordered. It should happen before fabrication. The selected porcelain brand, slab thickness, underside treatment, and installation method all affect whether the system can be used safely and effectively. A fabricator should receive the appliance specifications early enough to plan the necessary mounting areas and avoid conflicts with seams, supports, sinks, or outlets.
A pale marble-look porcelain can make an island feel bright and sculptural. A dark, monolithic surface creates a more dramatic effect, especially when paired with integrated cabinetry. Either can work. The better choice depends on the room’s light, cabinet color, and how much visual movement you want in the slab.
Porcelain also changes daily maintenance. Because the cooking surface has no exposed burner grates, knobs, or recessed glass frame, crumbs and splatters have fewer places to collect. After cooking, remove the pan, allow the area to cool as directed, and wipe the countertop as you normally would.
Plan for Heat and Zones, Not Painted Circles
A hidden induction system is designed to keep the visual surface clean. Some homeowners prefer discreet markings that indicate burner locations; others choose no permanent markings at all and use temporary guides while learning the placement. Both approaches can work.
What matters is practical spacing. Leave enough room between cooking zones for larger pans, handles, and the cook’s movement. If the island will also be used for seating, keep the active cooking area comfortably separated from where guests lean, serve, or place drinks. A larger island may support three or four cooking zones, while a smaller prep island may be better served by one or two.
Choose Induction for Performance, Not Just Appearance
The visual result is compelling, but the cooking experience must earn its place in a serious kitchen. Induction heats the pan directly through a magnetic field, rather than heating an element and then transferring that heat through glass or air. That is why it can boil water in under two minutes with the right cookware and deliver responsive temperature changes.
It also keeps the surrounding countertop comparatively cool because heat is concentrated in the cookware. The pan itself remains hot, and normal cooking precautions still apply, but the absence of an exposed flame and glowing element is a meaningful advantage for households with children, pets, or frequent entertaining.
Cookware compatibility is part of the decision. Pots and pans need a magnetic base, and flat-bottom cookware generally gives the best contact and results. Quality induction-ready cookware is not an accessory to overlook. It is part of the system. Oversized, warped, or non-magnetic pans can compromise performance regardless of how well the kitchen is designed.
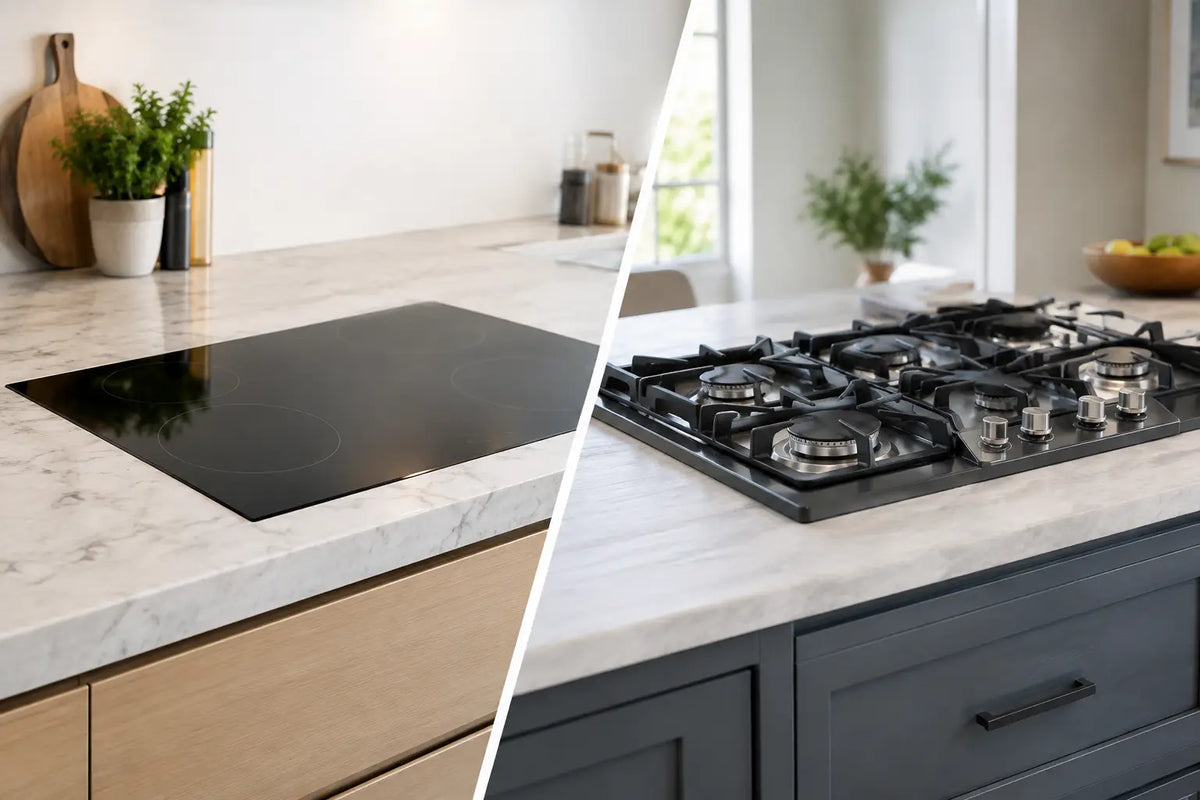
For homeowners comparing gas, visible induction, and hidden induction, the trade-off is simple. Gas offers familiar flame cooking but adds grates, heat, combustion concerns, and a dominant visual appliance. Conventional induction offers speed and efficiency but still occupies the countertop with a black glass panel. Through-surface induction preserves the benefits of induction while returning the full island surface to the room.
Coordinate the Technical Work Before Cabinets Close
An invisible cooking surface may look simple after installation, but the planning behind it should be precise. The electrical requirements, equipment location, ventilation strategy, countertop details, and cabinet configuration need to be coordinated before the build reaches the finish stage.
Start with dedicated electrical circuits sized for the selected system. A licensed electrician should review the product requirements and local code, then plan the connections and service capacity accordingly. This is not the place for assumptions based on a standard cooktop replacement. A new hidden-induction installation is best treated as a complete appliance and countertop integration.
The units beneath the countertop require protected, serviceable space. Cabinet layouts should allow access for installation and future service without turning a simple adjustment into a countertop removal project. Avoid filling every inch below the island with drawers before the equipment footprint has been confirmed.
Ventilation deserves the same early attention. Induction eliminates combustion from the cooktop, but cooking still creates steam, grease, and odors. Depending on the kitchen plan and local requirements, that may mean a statement hood, a concealed ceiling solution, a downdraft approach, or a well-designed ventilation strategy elsewhere in the room. The right answer depends on cooking style, ceiling height, and the local code authority.
Work With the Right Team
This type of project asks more of the project team than a standard appliance swap. The kitchen designer defines the layout and the visual intent. The fabricator confirms approved porcelain and fabrication details. The electrician handles power. The cabinet installer protects clearances and access. The appliance specialist makes sure the selected system matches the countertop and the way the homeowner intends to cook.
Bring those conversations together early. A beautiful rendering cannot solve a late discovery that a seam falls over a cooking zone or that the planned drawers block equipment access. Early coordination protects the design and the schedule.
Invisacook California provides hands-on guidance through selection, countertop compatibility, electrical requirements, and installation planning, which is particularly valuable when a project team is working with hidden induction for the first time.
Keep the Details Quiet and Useful
The most convincing minimalist kitchens do not eliminate function. They integrate it. Consider where phones charge, where small appliances live, how trash is accessed during prep, and where serving platters land during a dinner party. Through-counter wireless charging can keep devices powered without adding cords or countertop clutter.
Lighting should support the island without overexplaining it. Pendant fixtures can add warmth and scale, but a crowded row of decorative lights can compete with the clean plane below. Under-cabinet lighting, dimmable ambient lighting, and focused island illumination create layers that make porcelain texture visible without making the space feel clinical.
Storage should follow the cooking workflow. Place cookware, utensils, oils, and everyday ingredients within easy reach of the active zones, while keeping the visible perimeter calm. If the island is meant to convert to a buffet or dining surface, give yourself a nearby landing zone for hot pans and used cookware.
A kitchen earns its luxury through ease. When the materials, technology, and workflow agree, the island stops being a fixed appliance block and becomes the most adaptable surface in the home. Plan it with that future use in mind, and every quiet evening or full house will feel better organized.

Leave a comment
This site is protected by hCaptcha and the hCaptcha Privacy Policy and Terms of Service apply.