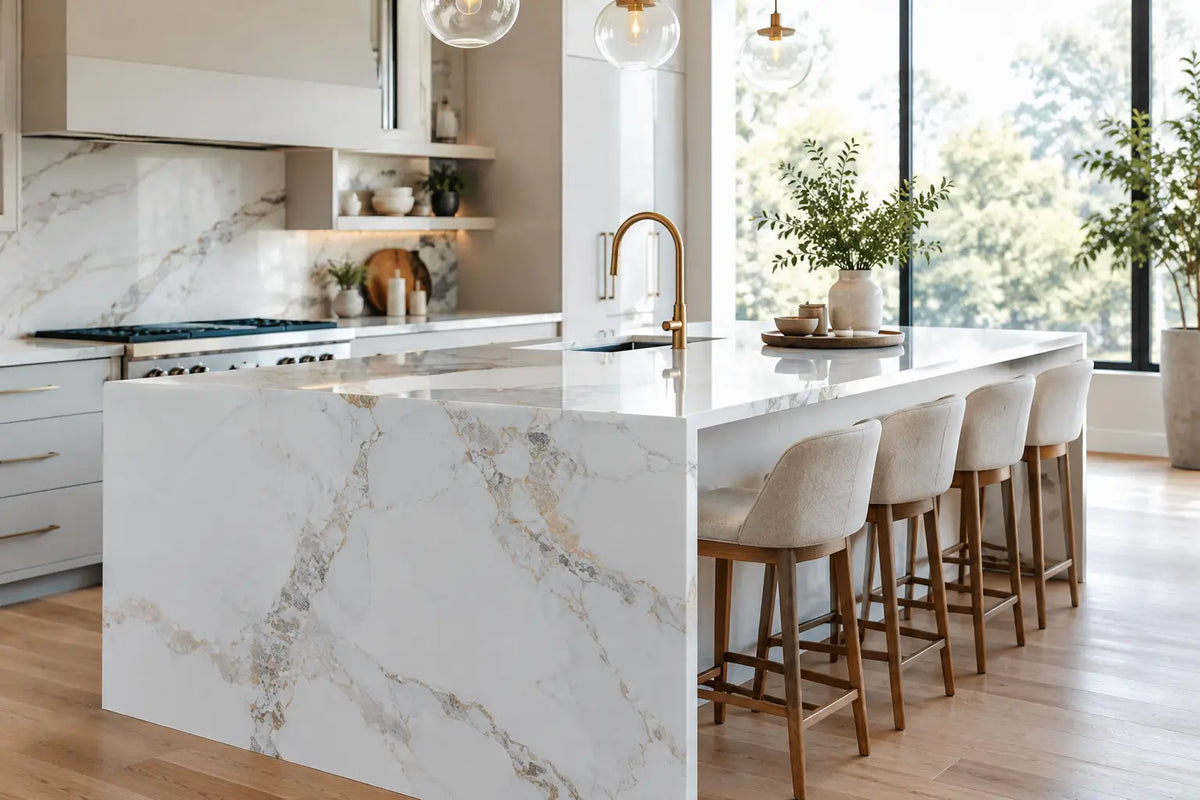
A designer porcelain island project example is not just a beautiful slab with a cooktop hidden underneath. It is a kitchen planned around one clear idea: the island should work hard when dinner is underway, then return to a calm, uninterrupted surface when the cooking ends.
For a recent modern-kitchen concept, that meant replacing the expected rangetop with an Invisacook through-surface induction system beneath a porcelain island. The result is zero visible burners, a cool cooking surface outside the pan area, and an island that can shift from prep station to serving table without a visual reset. Invisible Design. Unmistakable Performance.
The Design Brief: Make the Island the Room
The homeowners wanted an architectural kitchen rather than an appliance-forward one. Their priorities were specific: a large porcelain island with soft veining, no cooktop breaking up the pattern, enough room for two people to cook together, and clear space for their children to do homework or help prepare meals.
A conventional gas cooktop would have introduced grates, knobs, a hood requirement, and a permanent cleaning task in the center of the island. A visible glass induction top would have removed the grates but still created a dark rectangle that divided the countertop. Neither option supported the uninterrupted porcelain surface they had selected.
The hidden induction approach changed the layout conversation. Instead of designing the island around an appliance cutout, the designer could treat the porcelain as a continuous plane. Cooking zones were planned beneath the surface, while the visible top remained open, refined, and useful between meals.
Designer Porcelain Island Project Example: The Layout
The island in this example measures roughly 10 feet long by 4 feet deep, giving the kitchen enough depth to support a dedicated cooking zone and generous landing space. A four-burner invisible induction configuration was placed toward the working side of the island, rather than directly in the center. That decision left the seating side visually quiet and gave the cook practical room for ingredients, serving platters, and cookware.
The porcelain was selected early, not after cabinetry had been ordered. That sequence matters. Through-surface induction is engineered for compatible porcelain materials and approved countertop constructions, so the appliance, slab, fabricator, cabinetmaker, and electrician need to work from the same plan.
The project also used subtle surface markers to indicate the burner locations. Some homeowners prefer discreet etched circles or small dots; others choose no markings at all and learn the locations through use. Both can look exceptional. The right choice depends on how often guests will cook independently and how minimal the homeowners want the finished island to feel.
Why the Cooking Zone Sat Off Center
An off-center cooking zone can make an island more livable. It preserves a large uninterrupted area for a charcuterie spread, school projects, flower arranging, or a buffet during a party. It also keeps a hot pan zone away from stools and the social side of the island.
There is a trade-off. A centered configuration can feel more symmetrical, particularly in a highly formal kitchen. But symmetry is not always the same as function. For a family that cooks most nights and entertains on weekends, the off-center arrangement created a better working kitchen without compromising the clean visual line.
The Material Decision Comes First
Porcelain is a natural partner for this concept because it delivers a refined, durable, low-maintenance surface with the right thermal characteristics when paired with an approved system and proper fabrication. It resists the staining and upkeep concerns that often shape decisions around natural stone, while its large-format slabs make a monolithic island possible.
Still, porcelain is not interchangeable. Brand, color, thickness, reinforcement, seam placement, and the fabricator's installation method all affect compatibility. A dark or heavily patterned slab may also call for more deliberate zone markings than a pale, quiet finish. The goal is not to force every porcelain choice into hidden induction. The goal is to confirm the selected material can support the performance and safety the homeowner expects.
This is where early technical guidance prevents expensive revisions. Before the slab is fabricated, the project team should confirm the approved porcelain material, the specified induction system, cabinet ventilation requirements, access for service, and the electrical plan. Waiting until the countertop is already cut and installed limits options quickly.
What Happens Under the Countertop
The finished island appears simple because the complexity lives below the porcelain. Induction modules are mounted beneath the countertop in precisely planned locations. They heat magnetic cookware directly, rather than heating an exposed element first. That is why a compatible pan can reach high cooking temperatures while the surrounding countertop remains far cooler than a conventional radiant cooking surface.
For the homeowner, the performance is immediate. Water can boil in under two minutes with the right system and cookware, while responsive power makes it easier to move from a hard sear to a gentle simmer. Invisacook systems are designed for cooking performance up to 400°F, delivering the serious heat expected in a luxury kitchen without putting burners on display.
The cookware requirement is straightforward but essential: use magnetic induction-compatible cookware. InvisaCookware is designed for through-surface performance, and suitable magnetic cookware can also be validated before the project is finalized. A simple magnet test is helpful, but it is not the whole story. Flatness, pan size, and construction influence heating performance, so the cookware conversation belongs in the design process, not on move-in day.
Installation Planning That Protects the Design
This project succeeded because the installer was brought in before the island was built. The cabinet interior had to accommodate the modules, required clearances, and electrical connections while preserving usable storage. The electrical load was planned with a licensed electrician, who provided the dedicated circuits required for the selected configuration.
Ventilation also needed a practical answer. Because induction does not produce combustion, there is no gas flame or combustion byproduct at the island. Yet cooking still creates steam, aromas, and airborne grease. In this kitchen, the design team paired the hidden cooktop with a carefully selected ventilation strategy that fit the open-plan room rather than defaulting to a massive overhead hood.
That choice is project-specific. A homeowner who sears fish several nights a week may prioritize stronger capture. Someone using the island mainly for breakfast, pasta, and entertaining may have more flexibility. Hidden induction removes visible burners, but it does not remove the need to think honestly about how the kitchen will be used.
The Everyday Payoff
Once installed, the island became more than a cooking surface. During the week, one side handled dinner while the opposite side stayed available for prep and conversation. Afterward, the homeowners wiped the porcelain clean without lifting grates, scrubbing around burners, or working around a glass cooktop frame.
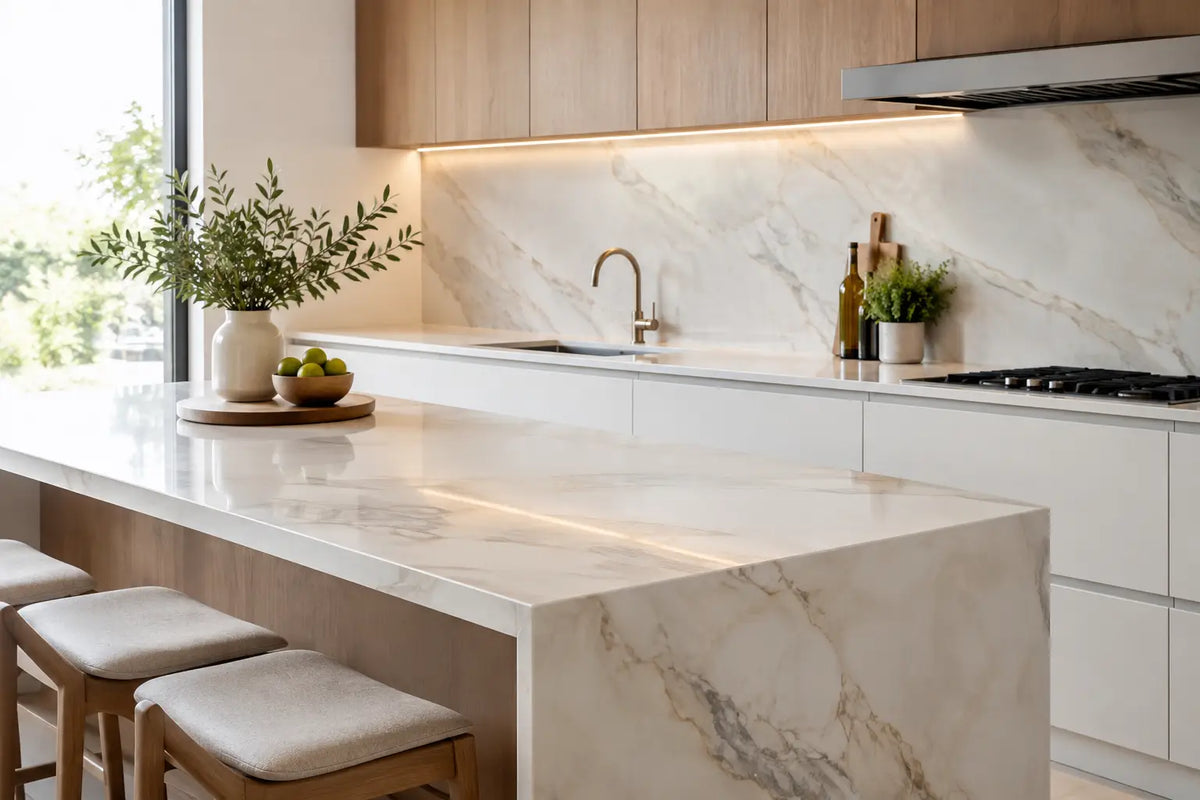
When guests arrived, the same surface became a buffet. Pots could be moved away, serving boards could be set down, and the island read as a single custom furniture piece instead of a workstation crowded with appliances. That transformation is the real value of the concept. It gives square footage back to the room.
For families, the safety benefit is equally practical. There is no open flame, and the countertop outside the active pan area does not remain intensely hot in the way a traditional electric element can. Good cooking habits still matter, especially around hot cookware, but the cooking environment becomes more controlled.
A Better Starting Point for a Custom Island
A designer porcelain island project is strongest when technology and material selection move together from the start. Choose the island dimensions, porcelain, cooking-zone location, electrical capacity, cabinetry details, ventilation approach, and cookware as one coordinated decision.
The most successful luxury kitchens do not hide technology merely for the sake of a clean photograph. They use it to make the space more useful every day. Start with the way you want your island to live, then build the invisible cooking system around that vision.


Leave a comment
This site is protected by hCaptcha and the hCaptcha Privacy Policy and Terms of Service apply.