
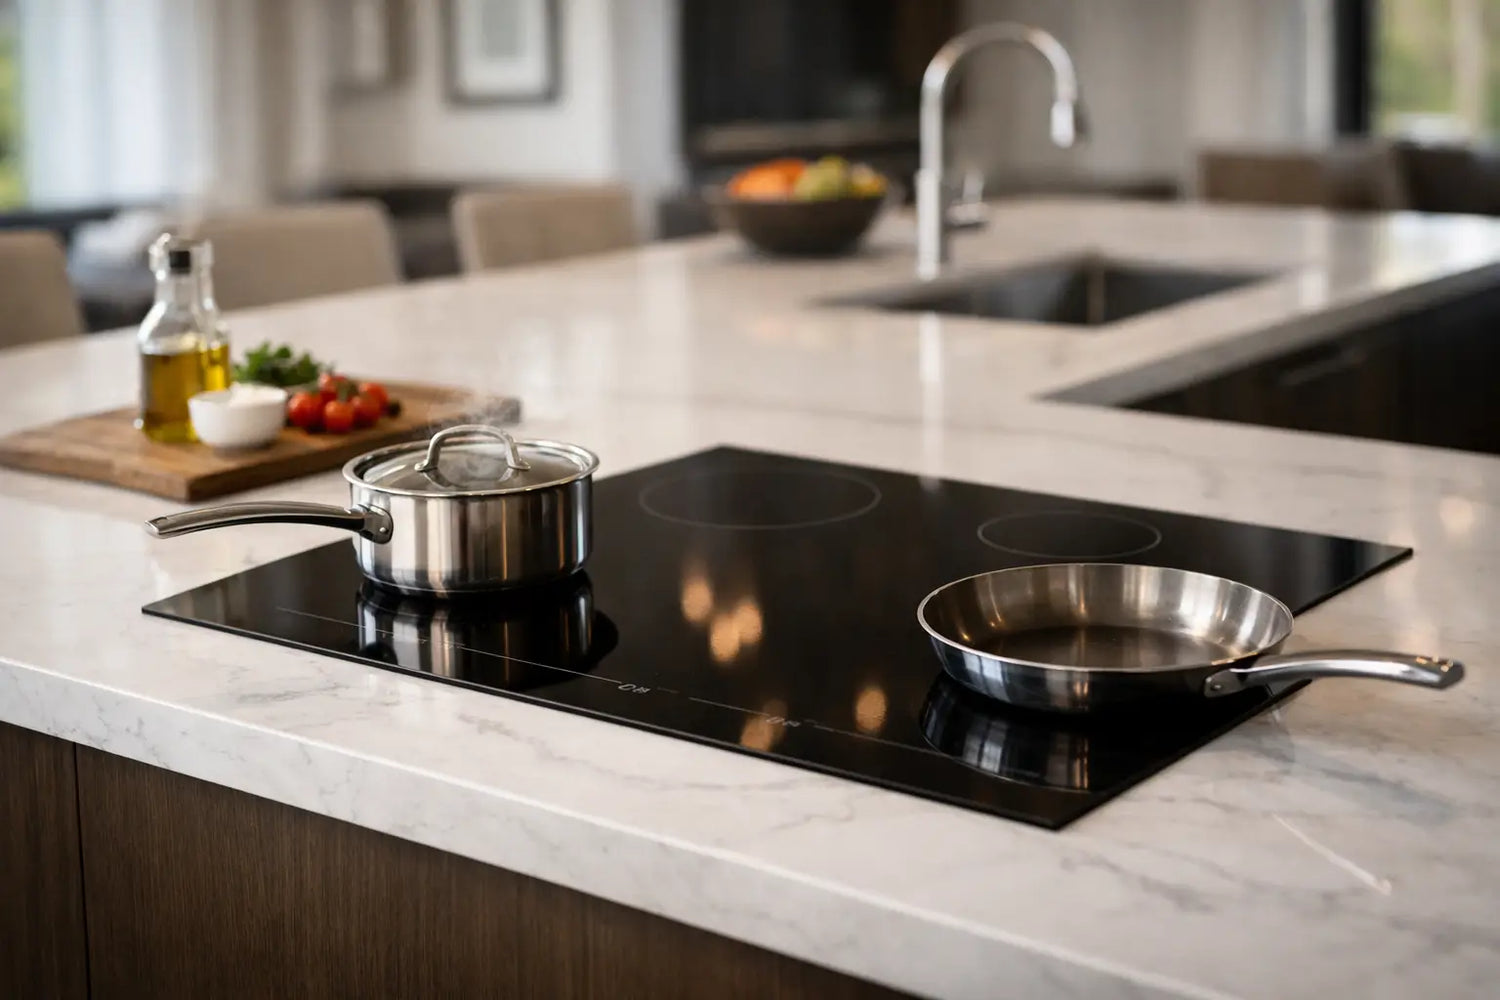
A porcelain island can be a sculptural work surface, a serving table, and a serious cooking zone - without a single visible burner. That result does not happen by choosing a slab at the end of a renovation. Knowing how to specify porcelain cooktops means coordinating the countertop, induction system, cabinetry, electrical plan, and fabricator before anyone cuts material.
For a luxury kitchen, the payoff is substantial: zero visible burners, a cool-to-the-touch cooking surface outside the pan area, fast induction performance, and an island that returns to a clean expanse of porcelain the moment dinner is over. The specification needs to be equally considered.
Start With the Design Intent
The first question is not which cooktop model to buy. It is how the island needs to work when no one is cooking.
If the island is the center of entertaining, a through-surface induction system can preserve room for platters, cocktails, homework, and casual dining. If it is primarily a prep station, fewer cooking zones may create a cleaner layout while still handling everyday meals. A large family kitchen may need three or four zones, while a secondary kitchen, bar, or compact condo can perform beautifully with one or two.
This is where hidden induction differs from a conventional glass-top cooktop. A standard unit permanently claims visual and physical space. A porcelain cooktop specification treats the entire counter as flexible architecture. The cooking zones are there when needed and disappear when they are not.
Plan the island around real use. Consider where people sit, where serving pieces land, which side faces the cook, and how often multiple pans will be used at once. Avoid placing active zones directly beside seating overhangs or in a spot where guests naturally lean, set bags, or gather during cooking.
How to Specify Porcelain Cooktops From the Slab Up
The porcelain surface and the induction technology must be approved to work together. Do not assume that every porcelain slab, thickness, finish, or installation method is compatible simply because porcelain is heat resistant.
Through-surface induction relies on a countertop material that can transmit induction energy effectively while meeting the system's thermal and structural requirements. The approved slab brand, product line, thickness, and installation details should be confirmed before fabrication begins. This is not an area for substitutions after the drawings are complete.
Porcelain is an exceptional fit for the concept because it delivers the monolithic, architectural look homeowners want from an invisible cooktop. It is also valued for stain resistance, UV stability, and easy cleanup. But the fabrication team must follow the induction manufacturer's requirements precisely, including any restrictions around seams, reinforcement, unsupported spans, cutouts, and the placement of the modules below the surface.
A polished, matte, or textured finish can change the visual character of an island, but it may also affect how clearly zone markings appear. Many homeowners prefer subtle etched circles or a discreet placement template that keeps the surface visually quiet. Others want no permanent markings at all and use a removable guide when cooking. Either approach can work when it is planned early.
Confirm the approved countertop system
Ask for written confirmation of compatibility for the exact porcelain selected, not just the manufacturer name. A slab collection can include different thicknesses, construction methods, and finishes. The project team should verify the final selection before the slab is ordered and before the fabricator programs the cuts.
It also helps to view a large sample in the kitchen lighting. Veining, movement, and dark colors can make subtle zone indicators nearly invisible, while a light solid porcelain may call for especially restrained markings. The right choice is aesthetic, but it should still support safe, intuitive cooking.
Size the Cooking System for the Kitchen, Not the Catalog
More zones are not automatically better. The correct configuration depends on the household, cooking style, and available island footprint.
A two-zone system is often ideal for a minimalist kitchen where the island handles daily cooking but the design priority is maximum uninterrupted counter space. Three zones offer more flexibility for a family that cooks several components at once. Four zones suit larger islands, frequent entertaining, and clients replacing a full-size range as the primary cooking appliance.
Zone placement matters as much as zone count. Keep enough space between pans for handles, larger cookware, and a comfortable cooking stance. Think through the landing zones for hot cookware and the path from refrigerator to prep area to sink. A beautiful island can become frustrating if its pan positions force the cook to work around stools or reach across a sink.
Specify compatible induction cookware at the same time. The cookware needs a magnetic base and a size that corresponds to the cooking zone. Flat-bottomed pots and pans provide the most consistent results. A system can deliver rapid boil times and high heat performance, but it can only perform as designed when the cookware is appropriate.
Coordinate Electrical, Cabinetry, and Ventilation Early
Invisible induction is an appliance installation, not simply a countertop detail. The electrical and cabinet plans should be resolved before framing, rough-in, and millwork production.
Each system configuration has its own power requirements. The electrician should provide the dedicated circuits, wire sizing, disconnect access, and code-compliant connections required for the selected model and local jurisdiction. Do not leave electrical decisions until the countertop is installed. By then, relocating a circuit or revising cabinetry can be expensive and disruptive.
The induction modules also require appropriate clearances beneath the countertop. Cabinet drawers, shelves, appliance garages, plumbing, and structural supports must be positioned around the equipment rather than competing with it. The cabinetry should allow service access if the system ever needs inspection or maintenance.
Ventilation is a separate design decision. Induction creates heat in the pan instead of an open flame, which helps keep the kitchen more comfortable and improves energy efficiency. It does not eliminate cooking vapor, steam, or odors. For high-output cooking, specify an overhead hood, ceiling-integrated ventilation, or another engineered solution based on the home's cooking habits and local code.
Protect the clean island aesthetic
The most successful projects make technical elements disappear without making them inaccessible. Plan for concealed wiring routes, correctly positioned modules, and a clean cabinet interior. If the island includes through-counter wireless charging, refrigeration drawers, or integrated outlets, coordinate those locations with the cooking zones from the start.
This is also the moment to decide where controls will live. A hidden induction system may use a dedicated control interface, and its placement should be convenient without interrupting the island's visual calm. The best layouts feel obvious once installed because every function is within reach, yet nothing dominates the countertop.
Put the Fabricator in the Specification Conversation
Porcelain fabrication is specialized work. The fabricator should receive the final module layout, approved material information, marking approach, seam plan, and installation guidance before cutting begins.
Do not treat the fabricator as the last stop in the process. They are central to the outcome. A qualified team can identify conflicts between a proposed seam and a cooking zone, recommend support details for a large island, and confirm that the installation sequence protects both the porcelain and the equipment.
A coordinated specification should answer at least these questions:
- Which exact porcelain slab, thickness, and finish are approved?
- How many induction zones are required, and where will they sit?
- Where are seams, sink cutouts, outlets, and seating overhangs located?
- What electrical circuits and under-counter clearances are required?
- How will cooking zones be identified and how will future service access work?
Specify for Daily Life, Not Just the Reveal
An invisible porcelain cooktop earns its place after the photography is done. Specify it around the details that make the kitchen easier to use every day: cookware storage near the island, a safe place for hot lids, practical ventilation, and zone placement that accommodates the pans your client actually owns.
There are trade-offs. A hidden system requires more early coordination than dropping a visible cooktop into a standard cutout. It may also ask the homeowner to use compatible cookware and adopt a slightly different cooking routine. In return, the island becomes dramatically more useful, easier to clean, and visually uninterrupted.
For homeowners, designers, and builders who want invisible design with unmistakable performance, early technical guidance is the advantage. Invisacook California helps bring the countertop, electrical, fabrication, and cooking decisions into one clear plan. Specify the system before the slab is cut, and the finished island will feel less like a compromise and more like the kitchen was designed that way from the beginning.


Leave a comment
This site is protected by hCaptcha and the hCaptcha Privacy Policy and Terms of Service apply.