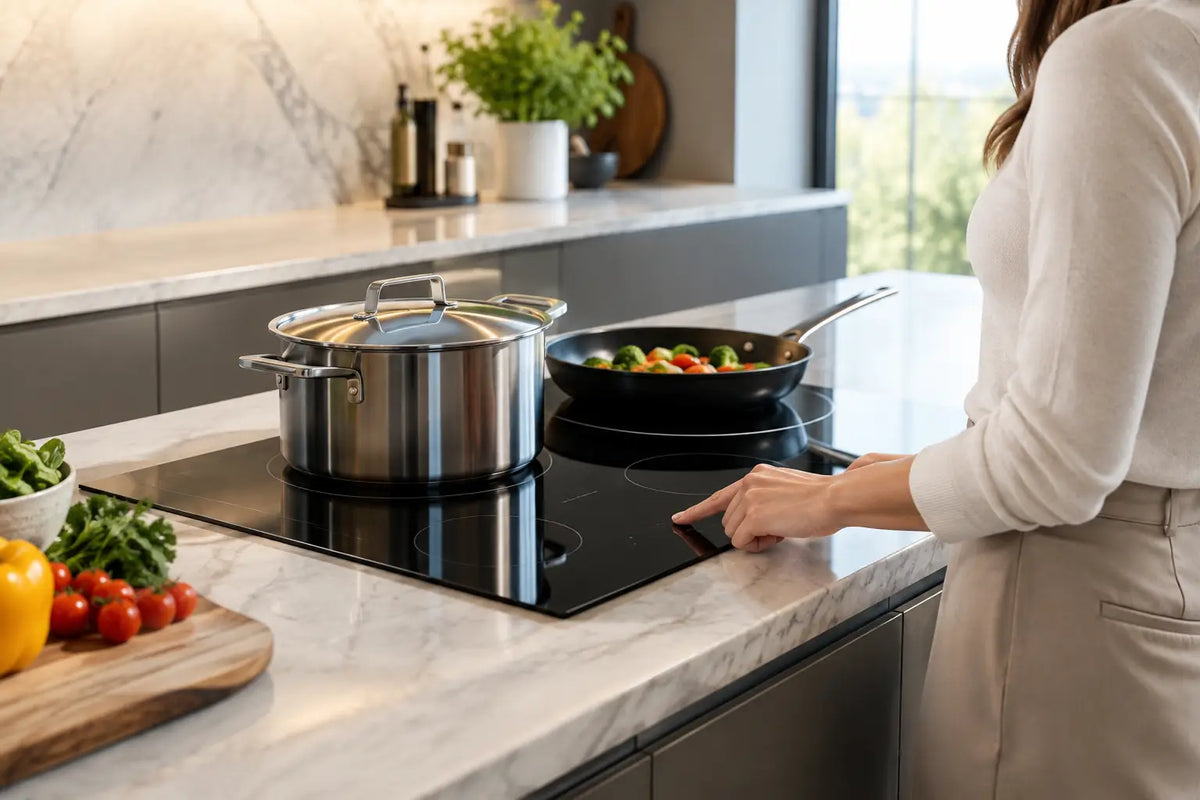
A porcelain island with no visible burners changes more than the look of a kitchen. It changes how the surface works for dinner prep, entertaining, and everyday life. Knowing how to manage induction power lets you get the speed induction is known for without treating every zone like it needs maximum output.
With through-surface induction, power management is simple once you understand the relationship between cookware, cooking zones, and the electrical capacity planned for your kitchen. The goal is not to cook at full power all the time. The goal is precise heat when you need it, with a calm, usable countertop when you do not.
How to manage induction power by cooking task
Induction responds immediately. Unlike gas, there is no open flame to adjust and no radiant element that must slowly cool down. A change from a high setting to a lower setting is felt quickly at the pan. That control is a major advantage, but it also means the best setting depends on what is happening inside the cookware.
Use high power for short, high-demand moments: bringing a pot of water to a boil, searing a steak, heating a pan before sautéing, or reducing a sauce. Once the pan or liquid reaches temperature, lower the setting. Most simmering, sauce work, eggs, and gentle reheating need far less power than many homeowners expect.
Think of the power control as a range, not an on-off switch. A high setting creates momentum. A medium setting maintains it. A low setting protects delicate food from scorching or splitting. That approach is especially useful on an invisible cooking surface, where the countertop stays visually quiet even while the pan delivers serious heat.
For a typical meal, start a large pot on high, then reduce it as soon as the boil is established. Preheat a skillet at medium-high rather than maximum power, particularly with lighter cookware. After adding food, adjust down if the pan is browning faster than intended. Induction is fast enough that small changes matter.
Save boost mode for the moments that need it
Boost mode is designed for speed. It can bring water to a boil in under two minutes in the right pan and under the right conditions. That makes it ideal when a recipe is waiting on pasta water or when a last-minute sauce needs to come together quickly.
It is not the best default setting for every task. Extended boost use can overheat an empty pan, create excessive browning, and pull available power away from another active zone on systems that share capacity. Use it deliberately, then step back to a sustainable cooking level.
A practical pattern is to use boost for the first phase of heating, then transition to high or medium-high. You get the dramatic speed without giving up control.
Understand power sharing across cooking zones
Multi-zone induction systems are engineered to distribute power intelligently. When several zones operate at once, the system may prioritize or balance available output so it stays within the limits of its electrical design. This is often called power sharing or power management.
That does not mean you cannot cook a full meal. It means two pans asking for maximum power at the same instant may not both receive boost-level output continuously. In real cooking, this is rarely a limitation because dishes move through different stages. Water boils, then simmers. A skillet sears, then finishes at lower heat. A sauce warms gently while everything else comes together.
The easiest way to work with shared power is to stagger high-demand tasks. Bring water to a boil first, reduce it to a simmer, then start the sear. If you are cooking for guests, reserve the highest setting for the one pan that needs it most. The other zones can handle vegetables, sauces, or holding tasks at medium and low power.
This method produces better food, too. A crowded menu does not need four pans racing at full heat. It needs timing.
Start with cookware that communicates clearly
Induction only heats cookware with a magnetic base. For a through-surface installation, compatible cookware is not a minor detail. It is the connection between the hidden induction system and the food you are preparing.
Choose cookware with a flat, magnetic base sized appropriately for the cooking zone. A warped pan can heat unevenly. A small pan placed off-center may not perform as expected. Heavy, well-built cookware generally provides more stable heat retention, which means you can often cook at a lower setting after preheating.
InvisaCookware is designed for this purpose, but the principle applies broadly: test the base with a magnet, keep it clean and flat, and match the pan to the task. A wide sauté pan needs more energy than a small butter warmer. A large stockpot may benefit from high power at the start, while a small saucepan can easily overheat if treated the same way.
Avoid running an empty pan at high power for long periods. Induction heats the pan directly, so there is no slow warm-up period to protect it from excessive temperature. Add oil, food, or liquid soon after preheating, and reduce the setting once the pan is ready.
Plan electrical capacity before the countertop is installed
Good induction power management begins before the first meal. The system must be matched to the home’s electrical service, dedicated circuit requirements, selected number of cooking zones, and countertop plan. A one-burner setup for a compact prep area has different needs than a four-zone island intended to replace a conventional range.
This is where a luxury kitchen project benefits from coordination. The homeowner, designer, fabricator, electrician, and induction specialist should agree on the selected system before cabinetry and porcelain are finalized. Electrical access, ventilation requirements, equipment placement below the counter, and service clearances all affect the finished installation.
Never assume a circuit intended for another appliance can support an induction system. A licensed electrician should verify voltage, amperage, wire sizing, breaker requirements, and local code compliance. That preparation protects performance and avoids a costly redesign after the porcelain is already in place.
Invisacook California helps customers evaluate countertop compatibility and installation requirements before purchase, which is particularly valuable when the cooking surface is also the architectural centerpiece of the room.
Use power with the countertop in mind
A through-surface induction cooktop can bring cookware to cooking temperatures up to 400°F while the surrounding porcelain remains much cooler than a traditional cooktop. Still, the area beneath and immediately around a hot pan can retain warmth after a long sear or boil. Treat the active cooking area with the same awareness you would give any cooking surface.
Keep the bottom of cookware dry and clean. Wipe spills promptly once it is safe to do so. Do not slide heavy cookware aggressively across the porcelain, and use the designated zone locations so energy transfers efficiently through the surface.
The benefit is not simply a cleaner visual. When cooking is finished and the cookware is removed, the island returns to its original role: serving station, cocktail bar, homework surface, or uninterrupted expanse of porcelain.
Four power habits that make induction feel effortless
- Preheat with intention. Start at medium-high for most skillets and reserve the highest settings for rapid boiling or intense searing.
- Lower power earlier than you would on gas. Induction reacts quickly, and the pan holds enough heat to continue cooking.
- Sequence demanding tasks. Let one zone handle the boil or sear while other dishes simmer, warm, or rest.
- Use cookware that fits. Flat, magnetic cookware centered over the active zone delivers more predictable results and reduces unnecessary power use.
A well-designed invisible induction kitchen should never make the island feel like an appliance first. Set the power for the pan, give high heat only to the task that earns it, and let the rest of the countertop remain ready for whatever the evening becomes.

Leave a comment
This site is protected by hCaptcha and the hCaptcha Privacy Policy and Terms of Service apply.